
Home>Create & Decorate>DIY & Crafts>Crafting Love: DIY Wedding Decor And Home Improvement
DIY & Crafts
Crafting Love: DIY Wedding Decor And Home Improvement
Modified: May 30, 2024

Senior Editor in Create & Decorate, Kathryn combines traditional craftsmanship with contemporary trends. Her background in textile design and commitment to sustainable crafts inspire both content and community.
Discover DIY wedding decor and home improvement projects with Crafting Love. Get inspired with our creative DIY & Crafts ideas for your special day and home.
(Many of the links in this article redirect to a specific reviewed product. Your purchase of these products through affiliate links helps to generate commission for Twigandthistle.com, at no extra cost. Learn more)
Introduction
Crafting is an art form that allows us to infuse our personal touch into every project we undertake. Whether it's creating stunning wedding decor or embarking on home improvement projects, DIY crafting enables us to transform ordinary materials into extraordinary creations. The satisfaction of crafting something with our own hands is unparalleled, and the joy it brings is immeasurable.
In this comprehensive guide, we will delve into the world of DIY crafting, exploring the realms of wedding decor and home improvement. From elegant centerpieces to innovative home upgrades, we will uncover the magic of crafting and the transformative power it holds. So, roll up your sleeves and get ready to embark on a journey filled with creativity, inspiration, and the sheer delight of bringing your visions to life.
Let's dive into the enchanting realm of DIY wedding decor, where we'll discover how to add a personal touch to every aspect of the celebration. Then, we'll venture into the realm of home improvement projects, where we'll explore innovative ideas to elevate the ambiance and functionality of our living spaces. Get ready to unleash your creativity and embark on a crafting adventure that will leave a lasting impression on your special day and your home sweet home.
Chapter 1: DIY Wedding Decor
Crafting love and beauty into every detail of a wedding is a cherished tradition. DIY wedding decor allows couples to infuse their personalities and love story into every element of their special day. From stunning centerpieces to charming signage, the possibilities for creating a magical ambiance are endless. Let's explore some delightful DIY wedding decor ideas that will add a touch of enchantment to the celebration.
1. Personalized Centerpieces
Create personalized centerpieces that reflect the couple's unique style and love story. Incorporate elements such as mason jars filled with wildflowers, vintage books, or lanterns adorned with delicate fairy lights. These charming centerpieces will not only add a romantic ambiance but also serve as beautiful mementos of the special day.
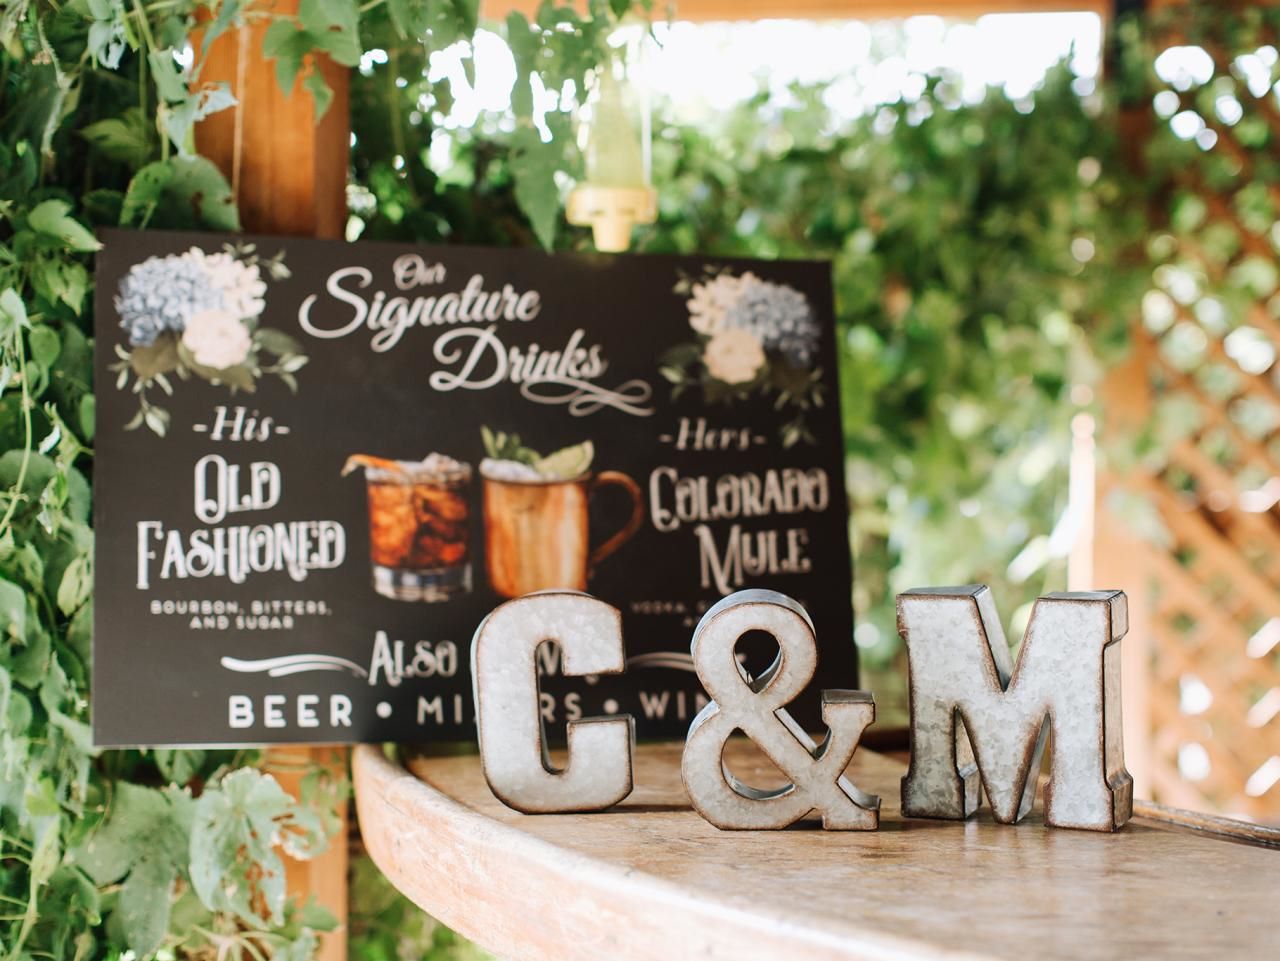
2. Handcrafted Signage
Crafting hand-lettered signs adds a personal and whimsical touch to the wedding decor. Whether it's a welcome sign, directional signs, or a sweet love quote, handcrafted signage adds a touch of warmth and charm to the venue. Utilize reclaimed wood, chalkboards, or elegant mirrors as the canvas for these heartfelt messages.
3. Customized Table Settings
Elevate the dining experience with customized table settings that reflect the couple's style and theme. Hand-painted place cards, intricately folded napkins, and personalized favors add a touch of elegance and thoughtfulness to each guest's experience. These personalized details will leave a lasting impression on everyone present.
4. Dreamy Backdrops
Crafting a dreamy backdrop for the ceremony or photo booth creates a captivating focal point. Utilize flowing fabrics, lush florals, or intricately designed paper flowers to create a romantic and picturesque backdrop. These enchanting backdrops will frame precious moments and create stunning photo opportunities.
5. Unique Guest Book Alternatives
Encourage creativity and heartfelt messages with unique guest book alternatives. From fingerprint trees to vintage typewriters for guests to share their well wishes, these personalized alternatives become cherished keepsakes that capture the love and support of family and friends.
6. Illuminating Lighting
Incorporate soft and romantic lighting to set the mood for the celebration. From twinkling fairy lights to elegant chandeliers or glowing lanterns, the right lighting creates an enchanting atmosphere that will leave a lasting impression on guests.
7. Thoughtful DIY Favors
Crafting personalized favors adds a thoughtful touch to the celebration. From handmade candles to infused oils or succulent plants, these DIY favors serve as tokens of appreciation for guests and a reminder of the love shared on this special day.
DIY wedding decor allows couples to create a truly personalized and magical celebration that reflects their love story and style. By infusing creativity and love into every detail, the wedding decor becomes a reflection of the couple's journey and a testament to the beauty of crafting love into every aspect of life.
Chapter 2: Home Improvement Projects
Embarking on home improvement projects is an exciting journey that allows homeowners to transform their living spaces into personalized havens of comfort and functionality. From simple upgrades to ambitious renovations, DIY home improvement projects empower individuals to unleash their creativity and enhance the ambiance of their homes. Let's explore a range of innovative and inspiring home improvement projects that can elevate the aesthetic appeal and functionality of any living space.
1. Creative Wall Art
Infuse personality and style into any room by creating unique and eye-catching wall art. Whether it's a gallery of framed photographs, a hand-painted mural, or a collection of DIY abstract canvases, creative wall art adds a touch of individuality and charm to the living space. By incorporating colors, textures, and personal touches, homeowners can transform blank walls into captivating focal points that reflect their unique taste and style.
2. Functional Storage Solutions
Maximize space and organization with creative and functional storage solutions. From custom-built shelving units to cleverly designed under-stair storage or multi-functional furniture pieces, innovative storage solutions can declutter living spaces and enhance their visual appeal. By integrating storage elements that blend seamlessly with the overall decor, homeowners can achieve a harmonious balance between practicality and aesthetics.
3. Outdoor Oasis Creation
Transforming outdoor spaces into inviting oases allows homeowners to expand their living areas and connect with nature. DIY projects such as building a cozy fire pit, constructing a pergola, or creating a vibrant garden sanctuary enable individuals to design outdoor retreats that are perfect for relaxation and entertainment. By incorporating comfortable seating, ambient lighting, and natural elements, homeowners can craft outdoor havens that provide a peaceful escape from the hustle and bustle of daily life.
4. Energy-Efficient Upgrades
Incorporating energy-efficient upgrades not only reduces utility costs but also contributes to a sustainable and eco-friendly living environment. From installing smart thermostats and LED lighting to enhancing insulation and upgrading appliances, energy-efficient home improvements offer long-term benefits for both the environment and homeowners' wallets. By embracing sustainable practices, individuals can create homes that are not only beautiful and comfortable but also environmentally responsible.
5. Personalized DIY Furniture
Crafting personalized furniture pieces allows homeowners to tailor their living spaces to their specific needs and preferences. Whether it's building a custom coffee table, refurbishing vintage furniture, or creating unique seating options, DIY furniture projects enable individuals to express their creativity and design furniture that complements their lifestyle and aesthetic vision. By incorporating personal touches and innovative designs, homeowners can elevate the functionality and visual appeal of their living spaces.
6. Statement Lighting Installations
Elevate the ambiance of any room with striking statement lighting installations. Whether it's a DIY chandelier, a collection of pendant lights, or custom-designed sconces, unique lighting fixtures can become captivating focal points that enhance the overall atmosphere of the living space. By experimenting with different styles, materials, and placement, homeowners can create lighting installations that add drama, elegance, and personality to their homes.
7. Smart Home Technology Integration
Integrating smart home technology allows homeowners to enhance convenience, security, and efficiency within their living spaces. From installing smart locks and security systems to incorporating voice-activated assistants and automated lighting, smart home technology projects offer a seamless blend of modern convenience and futuristic innovation. By embracing the latest technological advancements, individuals can create homes that are not only stylish and comfortable but also equipped with cutting-edge features that simplify daily routines.
Embarking on DIY home improvement projects empowers individuals to transform their living spaces into personalized havens that reflect their unique style, needs, and aspirations. By embracing creativity, innovation, and a hands-on approach, homeowners can embark on a fulfilling journey of crafting spaces that resonate with comfort, functionality, and beauty.
Conclusion
Crafting love and creativity into every aspect of life brings forth a sense of fulfillment and joy. In the realm of DIY crafting, whether it's adorning a wedding celebration with personalized decor or embarking on home improvement projects, the power of creativity knows no bounds. The journey of infusing personal touches, heartfelt sentiments, and innovative ideas into every creation is a testament to the beauty of crafting.
As we explored the enchanting world of DIY wedding decor, we discovered the magic of transforming ordinary materials into extraordinary expressions of love and celebration. From personalized centerpieces that exude charm to dreamy backdrops that frame precious moments, each element of DIY wedding decor becomes a reflection of the couple's unique journey and a testament to the beauty of crafting love into every detail.
Venturing into the realm of home improvement projects unveiled a world of innovation and inspiration. From creative wall art that infuses personality into living spaces to energy-efficient upgrades that contribute to sustainable living, DIY home improvement projects empower individuals to craft havens of comfort and functionality that resonate with their unique style and aspirations.
The art of crafting extends far beyond the physical creation of decor and home upgrades. It encompasses the joy of infusing personal stories, sentiments, and aspirations into every project, creating a tapestry of love, creativity, and individuality. Whether it's a wedding celebration adorned with handcrafted details or a home transformed into a personalized sanctuary, the essence of crafting resonates with the beauty of infusing love and creativity into every aspect of life.
As we conclude this journey through the realms of DIY crafting, let the spirit of creativity and love continue to inspire and guide every endeavor. May the joy of crafting and the magic of infusing personal touches into every creation illuminate the path ahead, creating a world filled with beauty, warmth, and the enduring essence of crafted love.