Home>Create & Decorate>DIY & Crafts>DIY Magnetic Advent Calendar: A Festive Home Improvement Project
DIY & Crafts
DIY Magnetic Advent Calendar: A Festive Home Improvement Project
Published: February 15, 2024

Content Creator specializing in woodworking and interior transformations. Caegan's guides motivate readers to undertake their own projects, while his custom furniture adds a personal touch.
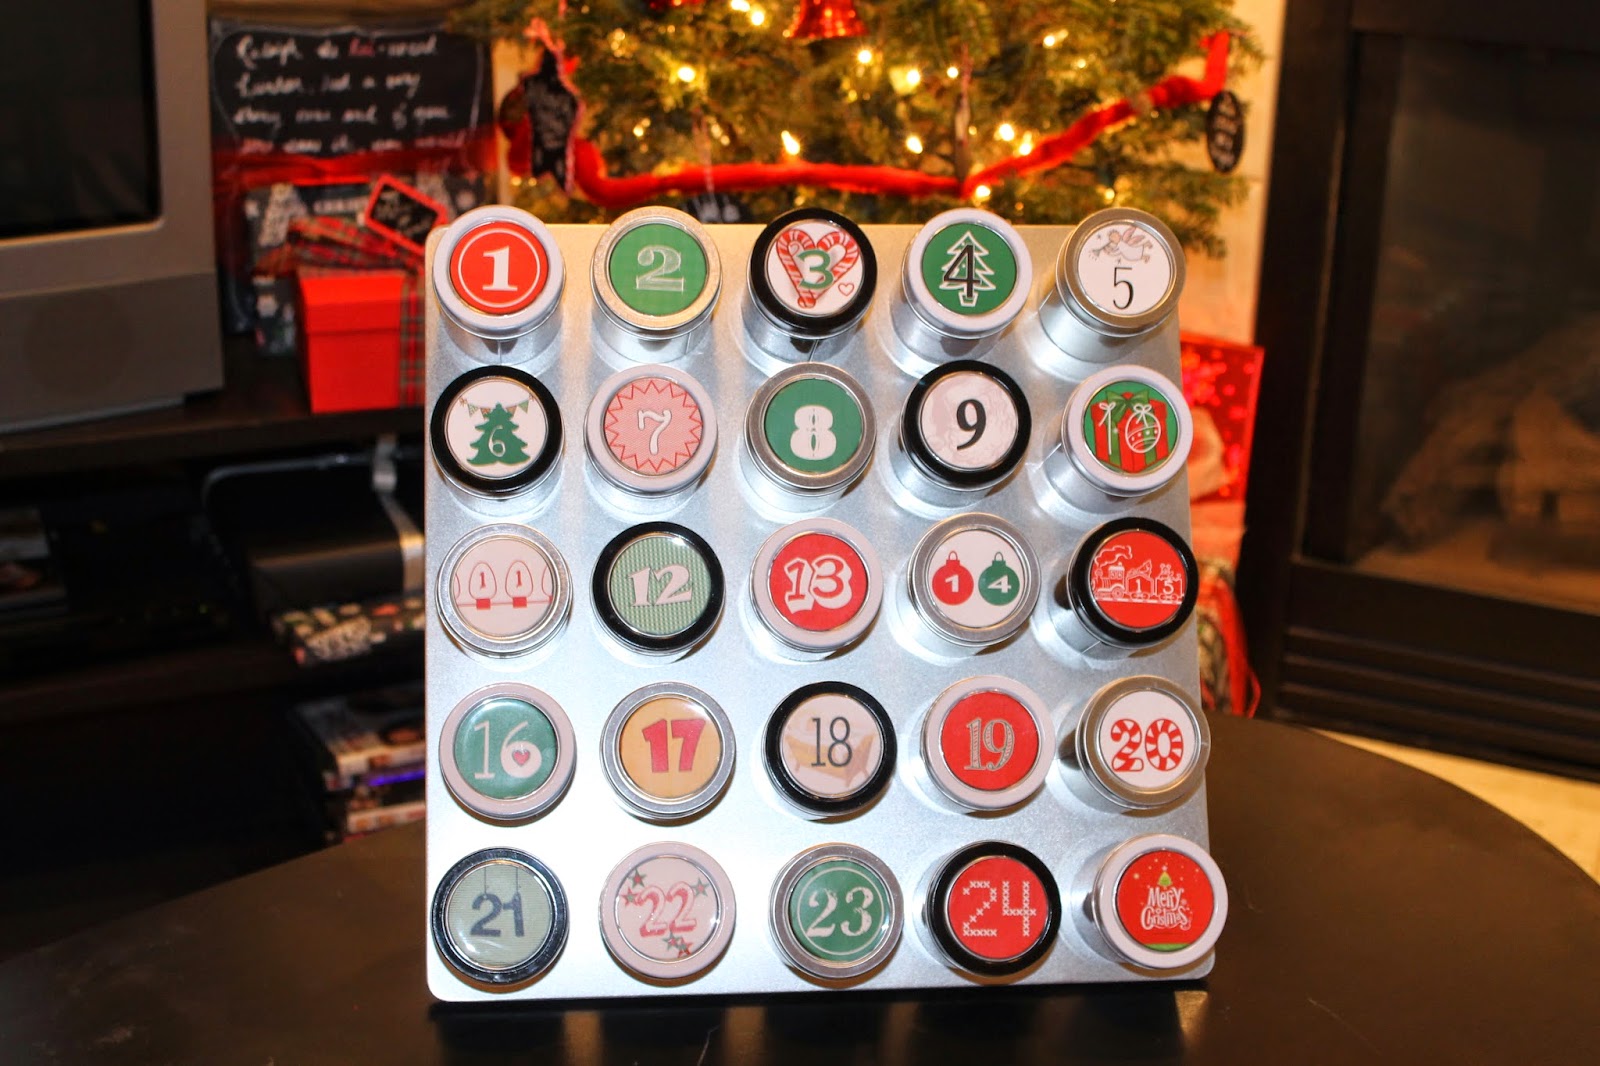
Create a festive atmosphere with our DIY Magnetic Advent Calendar. This fun home improvement project is perfect for the holiday season. Get crafty with our step-by-step guide!
(Many of the links in this article redirect to a specific reviewed product. Your purchase of these products through affiliate links helps to generate commission for Twigandthistle.com, at no extra cost. Learn more)
Introduction
The holiday season is a time of joy, anticipation, and cherished traditions. One beloved tradition is the advent calendar, a special way to count down the days until Christmas. While store-bought advent calendars are readily available, creating a DIY magnetic advent calendar can add a personal touch to your holiday decor and provide a fun and interactive experience for your family.
Crafting a magnetic advent calendar is not only a delightful project but also an opportunity to showcase your creativity and woodworking skills. This festive home improvement project allows you to customize the design, colors, and themes to complement your existing decor or to create a unique focal point in your home during the holiday season.
By embarking on this DIY endeavor, you can involve your family in the process, fostering a sense of togetherness and shared excitement as you work on this project together. Additionally, a handmade advent calendar can become a cherished heirloom, evoking fond memories each year as it is brought out and displayed.
In the following sections, we will explore the step-by-step process of creating a magnetic advent calendar, from gathering the necessary materials to adding decorative elements and filling the pockets with delightful surprises. Whether you are an experienced crafter or a novice DIY enthusiast, this guide will provide clear instructions and creative inspiration to help you bring this festive vision to life.
Get ready to embark on a joyful journey of crafting and creativity as we delve into the delightful world of DIY magnetic advent calendars. Let's roll up our sleeves and infuse the holiday season with the warmth of handmade craftsmanship and the joy of anticipation.
Materials Needed
To embark on the creation of a DIY magnetic advent calendar, you will need a selection of materials to bring this festive project to life. Gathering these supplies will set the stage for a delightful crafting experience and ensure that you have everything on hand to complete the project with ease and creativity.
-
Wooden Board or Sheet: The foundation of your magnetic advent calendar will be a sturdy wooden board or sheet. Choose a size that fits the space where you intend to display the calendar. Consider the overall aesthetic of your home decor to select a board that complements your style.
-
Magnetic Sheet or Paint: To transform the wooden board into a magnetic surface, you will need a magnetic sheet or magnetic paint. The magnetic element is essential for securely attaching the advent calendar pockets and ensuring that they stay in place throughout the holiday season.
-
Fabric or Felt: Select an assortment of festive fabric or felt to create the pockets for the advent calendar. Choose colors and patterns that evoke the spirit of the holiday season, such as traditional red and green hues, snowy motifs, or whimsical prints featuring reindeer, snowflakes, or ornaments.
-
Advent Calendar Numbers: To label each pocket with the corresponding dates, you will need small numerical elements. These can be in the form of wooden or plastic numbers, adhesive stickers, or handcrafted tags. Ensure that the numbers are easily visible and complement the overall design of the calendar.
-
Decorative Embellishments: Enhance the visual appeal of your advent calendar by incorporating decorative elements such as ribbons, buttons, miniature ornaments, or festive trinkets. These embellishments will add charm and personality to the calendar, making it a delightful focal point in your home.
-
Crafting Tools: Equip yourself with essential crafting tools, including scissors, a hot glue gun, fabric glue, a ruler, and a pencil. These tools will facilitate the process of cutting and assembling the fabric pockets, attaching the magnetic elements, and adding decorative touches to the calendar.
-
Surprises and Treats: As you prepare to fill the advent calendar pockets, gather an assortment of small surprises and treats to delight your family members each day. These can include chocolates, candies, small toys, uplifting messages, or personalized notes, adding an extra layer of joy to the countdown experience.
By assembling these materials, you will lay the groundwork for a delightful and engaging DIY project that will infuse your home with the spirit of the holiday season. With these supplies at your disposal, you are ready to embark on the creative journey of crafting a magnetic advent calendar that will become a cherished part of your holiday traditions.
Step 1: Prepare the Base
The first step in creating a DIY magnetic advent calendar is to prepare the base, which will serve as the foundation for the festive display. Begin by selecting a wooden board or sheet that aligns with your desired dimensions and complements your home decor. The board should be sturdy and smooth, providing a suitable surface for the subsequent steps of the project.
Once you have chosen the wooden base, ensure that it is clean and free of any dust or debris. This will create an optimal canvas for the application of the magnetic elements. If necessary, gently sand the surface to achieve a smooth texture, allowing the magnetic components to adhere securely.
Next, it's time to introduce the magnetic element to the base. Depending on your preference and availability, you can opt for a pre-cut magnetic sheet that can be affixed to the wooden board, or you can use magnetic paint to transform the surface into a magnetic receptive area. If using magnetic paint, apply multiple coats as per the manufacturer's instructions to ensure adequate magnetic strength.
After applying the magnetic sheet or paint, allow sufficient time for it to dry and set properly. This step is crucial for establishing a strong magnetic foundation that will securely hold the advent calendar pockets in place throughout the holiday season.
Once the magnetic element is in place and fully dried, your base is now ready to serve as the canvas for the next stages of the project. The magnetic surface will provide the necessary support for attaching the fabric or felt pockets, creating a functional and visually appealing advent calendar display.
By meticulously preparing the base with the appropriate magnetic components, you have set the stage for the subsequent creative steps of crafting a personalized and enchanting magnetic advent calendar. With the foundation in place, you are now poised to move forward with the exciting process of bringing the calendar to life, infusing your home with the spirit of the holiday season and the joy of anticipation.
Step 2: Create the Advent Calendar Pockets
With the magnetic base prepared, the next step in crafting your DIY magnetic advent calendar is to create the charming pockets that will hold delightful surprises for each day leading up to Christmas. These pockets will not only serve as functional compartments for small treats and trinkets but also add a whimsical and festive touch to the overall design of the calendar.
To begin, gather the festive fabric or felt that you have selected for this delightful project. Choose a variety of colors and patterns that resonate with the spirit of the holiday season, such as traditional red and green hues, snowy motifs, or whimsical prints featuring reindeer, snowflakes, or ornaments. This assortment of fabric will allow you to infuse the advent calendar with a delightful visual appeal that captures the essence of the holidays.
Using a ruler and a pencil, carefully measure and mark the dimensions for each pocket on the selected fabric or felt. The size of the pockets can vary based on your preference and the available space on the wooden base. Once the measurements are marked, proceed to cut out the fabric pieces, ensuring precision and attention to detail to create uniform pockets that will adorn the calendar seamlessly.
With the fabric pockets cut to size, it's time to assemble and secure them onto the magnetic base. Utilize fabric glue or a hot glue gun to affix the pockets in a grid-like pattern, ensuring that they are evenly spaced and aligned for a visually appealing arrangement. Take care to press down firmly to ensure a secure bond between the fabric pockets and the magnetic surface.
As the pockets are affixed to the base, consider adding decorative embellishments to enhance their charm and individuality. Incorporate ribbons, buttons, miniature ornaments, or festive trinkets to adorn each pocket, infusing them with personality and festive flair. These decorative elements will contribute to the overall visual appeal of the advent calendar, making it a delightful focal point in your home.
By creating the advent calendar pockets with care and creativity, you have added a touch of handmade charm and festive whimsy to the project. These pockets will serve as the vessels of anticipation and delight, eagerly awaiting the small surprises and treats that will fill them as the countdown to Christmas unfolds. With the pockets in place, the calendar is one step closer to becoming a cherished part of your holiday traditions, infusing your home with the warmth and joy of the season.
Step 3: Attach the Magnetic Backing
With the fabric pockets securely affixed to the wooden base, the next pivotal step in the creation of your DIY magnetic advent calendar is to attach the magnetic backing. This crucial element will ensure that the fabric pockets adhere firmly to the surface, allowing them to securely hold the delightful surprises and treats that will captivate your family as they count down to Christmas.
To begin this step, carefully measure and cut the magnetic sheet to fit the dimensions of the wooden base. Ensure that the magnetic backing aligns precisely with the area where the fabric pockets are situated, providing comprehensive coverage to support the weight of the treats and maintain a seamless display. If you opted for magnetic paint in the initial stages of the project, ensure that the surface has been adequately coated and dried to achieve optimal magnetic strength.
Once the magnetic sheet is cut to size, apply a layer of adhesive to the back of the sheet, ensuring even coverage across the entire surface. With precision and attention to detail, carefully position the magnetic backing onto the wooden base, aligning it with the edges and corners to create a smooth and secure bond. Press down firmly to ensure that the magnetic sheet adheres seamlessly to the surface, establishing a strong and reliable magnetic foundation for the advent calendar.
As the magnetic backing is affixed to the base, allow sufficient time for it to set and bond securely. This crucial step will ensure that the fabric pockets remain in place and can effectively hold the surprises and treats without risk of detachment. The magnetic backing serves as the invisible force that upholds the enchanting display, allowing the advent calendar to fulfill its role as a delightful and functional centerpiece in your home.
With the magnetic backing in place, the advent calendar is now equipped with the essential magnetic strength to support the fabric pockets and the delightful treasures they will hold. This pivotal step brings the project one step closer to completion, setting the stage for the final touches that will infuse the calendar with festive charm and anticipation. As the magnetic backing securely embraces the wooden base, the DIY magnetic advent calendar is poised to become a cherished part of your holiday traditions, radiating the warmth and joy of the season throughout your home.
Step 4: Decorate and Fill the Pockets
With the foundation of the DIY magnetic advent calendar meticulously prepared and the fabric pockets securely affixed, it's time to infuse the calendar with an enchanting array of decorative elements and fill each pocket with delightful surprises. This step is where the calendar truly comes to life, exuding the festive spirit and anticipation that make it a cherished centerpiece in your home during the holiday season.
To begin the decoration process, consider incorporating an assortment of decorative embellishments to adorn the fabric pockets. Ribbons, buttons, miniature ornaments, and festive trinkets can be delicately attached to each pocket, adding a personalized touch and enhancing the visual appeal of the calendar. These embellishments not only contribute to the overall charm of the advent calendar but also create a sense of excitement and anticipation as each pocket becomes a delightful showcase of holiday cheer.
As you adorn the pockets with decorative elements, consider the overall aesthetic and theme of the calendar. Whether you opt for a traditional, rustic, or whimsical design, the decorative embellishments should harmonize with the chosen style, infusing the calendar with personality and festive flair. This attention to detail will elevate the visual impact of the advent calendar, transforming it into a captivating display that captivates the imagination and evokes the joy of the holiday season.
With the pockets adorned, the final step is to fill each one with small surprises and treats that will delight your family members each day leading up to Christmas. Consider an assortment of chocolates, candies, small toys, uplifting messages, or personalized notes to infuse the pockets with joy and anticipation. As you fill each pocket, envision the delight and excitement it will bring to your loved ones, creating a sense of shared anticipation and warmth as the countdown to Christmas unfolds.
By adorning the pockets with care and creativity and filling them with delightful surprises, you have transformed the DIY magnetic advent calendar into a captivating expression of holiday cheer and anticipation. Each pocket becomes a vessel of joy, eagerly awaiting the moment when it will reveal its hidden treasure, fostering a sense of togetherness and shared excitement within your home. As the calendar becomes adorned and filled, it radiates the warmth and joy of the season, becoming a cherished part of your holiday traditions and a delightful focal point that infuses your home with the spirit of the holidays.
Conclusion
In conclusion, the journey of creating a DIY magnetic advent calendar has been a delightful fusion of craftsmanship, creativity, and the spirit of the holiday season. From meticulously preparing the wooden base and attaching the magnetic backing to crafting the charming fabric pockets and adorning them with decorative embellishments, each step has contributed to the transformation of simple materials into a captivating centerpiece that radiates the warmth and joy of the holidays.
As the final touches are added and the pockets are filled with delightful surprises, the advent calendar becomes more than just a decorative display; it becomes a vessel of shared anticipation and joy within your home. Each pocket holds the promise of a small treasure, a moment of delight, and a shared experience that brings your family together in the spirit of the season.
The DIY magnetic advent calendar embodies the essence of the holidays, infusing your home with the magic of anticipation and the joy of shared traditions. It serves as a tangible expression of creativity and love, a testament to the joy of crafting and the warmth of togetherness. As it takes its place in your home, it becomes a cherished part of your holiday traditions, evoking fond memories and creating new moments of joy with each passing day.
This festive home improvement project not only showcases your creativity and woodworking skills but also provides an opportunity to involve your family in the process, fostering a sense of togetherness and shared excitement. As you gather around the advent calendar each day, the anticipation and joy it brings become a cherished part of your holiday experience, creating lasting memories and strengthening the bonds of family and tradition.
In the end, the DIY magnetic advent calendar is more than just a decorative piece; it is a testament to the joy of crafting, the warmth of the holiday season, and the beauty of shared traditions. It stands as a reminder of the joy of anticipation, the delight of small surprises, and the magic of togetherness, infusing your home with the spirit of the holidays and creating moments of joy that will be treasured for years to come.