
Home>Create & Decorate>DIY & Crafts>Creative Pumpkin Candle Holders: DIY Home Improvement Ideas
DIY & Crafts
Creative Pumpkin Candle Holders: DIY Home Improvement Ideas
Modified: May 30, 2024

Content Creator specializing in woodworking and interior transformations. Caegan's guides motivate readers to undertake their own projects, while his custom furniture adds a personal touch.
Discover creative DIY & Crafts ideas for making pumpkin candle holders to enhance your home decor. Get inspired with our DIY home improvement tips!
(Many of the links in this article redirect to a specific reviewed product. Your purchase of these products through affiliate links helps to generate commission for Twigandthistle.com, at no extra cost. Learn more)
Introduction
Are you looking for a creative and budget-friendly way to add a warm and inviting ambiance to your home? Look no further than DIY pumpkin candle holders. With the fall season upon us, it's the perfect time to embrace the cozy and rustic charm of pumpkin decor. By transforming ordinary pumpkins into stunning candle holders, you can infuse your living space with a touch of enchanting elegance.
Creating your own pumpkin candle holders not only allows you to showcase your artistic flair but also provides an opportunity to engage in a fun and rewarding home improvement project. Whether you're a seasoned crafter or a novice DIY enthusiast, this project is sure to ignite your creativity and bring a sense of fulfillment as you witness the magical glow of candlelight emanating from your handcrafted masterpieces.
In this comprehensive guide, we will walk you through the step-by-step process of crafting your very own pumpkin candle holders. From selecting the perfect pumpkins to carving and displaying them, you'll learn all the tips and tricks to ensure a successful and visually captivating outcome. So, roll up your sleeves, gather your materials, and get ready to embark on a delightful journey of DIY home improvement with these charming pumpkin candle holders.
Materials Needed
To embark on this delightful DIY project, you'll need a few essential materials to bring your vision to life. Here's a comprehensive list of what you'll require:
-
Pumpkins: Opt for a variety of pumpkins in different shapes and sizes to add visual interest to your candle holder display. Look for pumpkins with a flat base to ensure stability when placed on surfaces.
-
Tea Light Candles: Select high-quality tea light candles that fit snugly into the carved-out portion of the pumpkins. Consider choosing scented candles to infuse your space with a delightful aroma.
-
Sharp Knife or Pumpkin Carving Kit: A sturdy and sharp knife or a specialized pumpkin carving kit will be essential for carving out the tops of the pumpkins and creating space for the tea light candles.
-
Scooping Tool: A spoon or a pumpkin scooping tool will come in handy for removing the seeds and pulp from the pumpkins' interiors, preparing them for the placement of the candles.
-
Marker or Pen: Use a marker or pen to outline the areas where you'll be carving the pumpkins. This will help ensure precision and accuracy during the carving process.
-
Newspaper or Tablecloth: Lay down newspaper or a protective tablecloth to create a designated work area and prevent any mess while carving and scooping out the pumpkins.
-
Optional: Decorative Accents: If you're feeling particularly creative, consider incorporating additional decorative elements such as glitter, paint, or ribbons to personalize your pumpkin candle holders.
-
Safety Precautions: It's crucial to prioritize safety, so keep a first-aid kit nearby and exercise caution when handling sharp tools.
Gathering these materials will set the stage for a seamless and enjoyable crafting experience, allowing you to channel your creativity and transform ordinary pumpkins into captivating candle holders. With these essentials at your disposal, you're well-equipped to embark on this enchanting DIY home improvement project.
Step 1: Selecting the Right Pumpkins
The first and foremost step in creating stunning pumpkin candle holders is to carefully select the right pumpkins for your project. When choosing pumpkins, consider their size, shape, and overall aesthetic appeal. Opt for a variety of pumpkins in different sizes and shapes to add visual interest to your candle holder display. Look for pumpkins with a flat base, as this will ensure stability when placed on surfaces, preventing any wobbling or tipping over.
It's essential to assess the pumpkins' exteriors for any blemishes or soft spots. Select pumpkins with smooth and unblemished surfaces, as these will provide a clean canvas for carving and enhance the visual impact of the finished candle holders. Additionally, inspect the pumpkins for sturdy stems, as intact and robust stems will contribute to the overall charm of the candle holders and can also serve as decorative elements.
Consider the overall theme or color scheme of the space where the pumpkin candle holders will be displayed. If you're aiming for a traditional autumnal ambiance, opt for classic orange pumpkins. For a more contemporary or eclectic look, explore pumpkins in varying hues such as white, green, or even striped varieties. Mixing and matching different pumpkin colors can add a playful and dynamic dimension to your candle holder arrangement.
Furthermore, assess the size of the pumpkins in relation to the intended display area. If you plan to create a centerpiece for a dining table, consider a mix of medium-sized pumpkins that can be arranged in a cluster. For smaller surfaces or nooks, opt for petite pumpkins that can be grouped together or displayed individually.
By thoughtfully selecting pumpkins that align with your design vision and complement the ambiance of your home, you set the stage for a visually captivating and harmonious display of pumpkin candle holders. With the perfect pumpkins in hand, you're ready to embark on the next step of carving and transforming these humble gourds into enchanting candle holders that will illuminate your living space with warmth and charm.
Step 2: Carving the Pumpkins
Carving the pumpkins is where the magic truly begins. This step allows you to unleash your creativity and transform ordinary pumpkins into captivating candle holders that will exude warmth and charm. Before diving into the carving process, ensure that you have a sturdy and sharp knife or a specialized pumpkin carving kit at the ready. Additionally, lay down newspaper or a protective tablecloth to create a designated work area and prevent any mess while carving and scooping out the pumpkins.
To commence the carving process, carefully carve out the tops of the pumpkins using a sharp knife. Create circular or hexagonal openings around the stems, ensuring that the openings are wide enough to accommodate the tea light candles. Exercise caution and precision during this step to achieve clean and uniform cuts, as these will serve as the entry points for the candlelight to emanate from the pumpkins.
Once the tops have been removed, it's time to delve into the intricate art of pumpkin carving. Using a scooping tool, such as a spoon or a specialized pumpkin scooping tool, gently remove the seeds and pulp from the pumpkins' interiors. Thoroughly clean out the insides to create a smooth and hollow cavity where the tea light candles will be placed. This process not only prepares the pumpkins for the candles but also ensures that they will emit a soft and radiant glow when illuminated.
With the pumpkins hollowed out, it's time to unleash your artistic flair. Use a marker or pen to outline the areas where you'll be carving intricate designs or patterns onto the pumpkins' exteriors. Whether you opt for classic jack-o'-lantern faces, elegant swirling motifs, or geometric patterns, let your imagination run wild as you adorn the pumpkins with captivating designs. Take your time and embrace the meditative nature of pumpkin carving, allowing your creativity to flow freely as you bring your envisioned designs to life.
As you carve, consider incorporating varying depths and thicknesses into your designs to create a play of light and shadow when the candles are lit. This nuanced approach will add depth and dimension to your pumpkin candle holders, elevating them from simple decorations to mesmerizing works of art. Whether you choose to carve intricate silhouettes or minimalist designs, each pumpkin will exude its own unique charm when illuminated by the gentle flicker of candlelight.
By infusing the carving process with patience, creativity, and attention to detail, you'll witness the humble pumpkins undergo a remarkable transformation into enchanting candle holders. The act of carving itself becomes a form of artistic expression, allowing you to imbue each pumpkin with a touch of your personality and style. With the carving complete, your pumpkin candle holders are now ready to embrace the warm glow of tea light candles, casting a spellbinding ambiance throughout your living space.
Step 3: Adding the Candle
With the intricately carved pumpkins now serving as enchanting candle holders, it's time to infuse them with the warm and mesmerizing glow of tea light candles. This step marks the culmination of your creative endeavor, as the flickering candlelight will bring your handcrafted pumpkin candle holders to life, casting a captivating ambiance throughout your home.
Carefully select high-quality tea light candles that fit snugly into the hollowed-out cavities of the pumpkins. Opt for unscented or scented candles based on your preference, keeping in mind that scented candles can further enhance the sensory experience by infusing the air with delightful aromas.
Gently place the tea light candles into the prepared cavities within the pumpkins, ensuring that they are positioned securely and sit level with the openings. The soft and radiant glow of the candles will elegantly illuminate the intricate designs and patterns carved into the pumpkins, creating a mesmerizing interplay of light and shadow.
As the candles are lit, take a moment to bask in the enchanting ambiance that unfolds before your eyes. The gentle flicker of candlelight dancing through the carved crevices will evoke a sense of warmth and tranquility, infusing your living space with a magical allure that is both captivating and comforting.
To further elevate the visual impact of your pumpkin candle holders, consider experimenting with different candle colors or opting for flameless LED tea lights. These alternatives can introduce a captivating interplay of hues and intensify the enchanting ambiance, especially in dimly lit settings or during evening gatherings.
As the candles cast their radiant glow, the pumpkin candle holders will serve as focal points, exuding a captivating charm that captivates the eye and uplifts the spirit. Whether displayed as centerpieces on dining tables, clustered on mantels, or arranged along staircases, these handcrafted creations will infuse your home with an irresistible allure that embodies the essence of the fall season.
With the candles nestled within the pumpkins, your DIY pumpkin candle holders have reached their full potential, emanating a captivating warmth and charm that transcends their humble origins. The addition of candlelight transforms these ordinary gourds into extraordinary works of art, infusing your living space with an enchanting ambiance that invites admiration and delight.
In the next section, we will explore creative and visually captivating ways to display your pumpkin candle holders, allowing you to showcase their beauty and charm throughout your home.
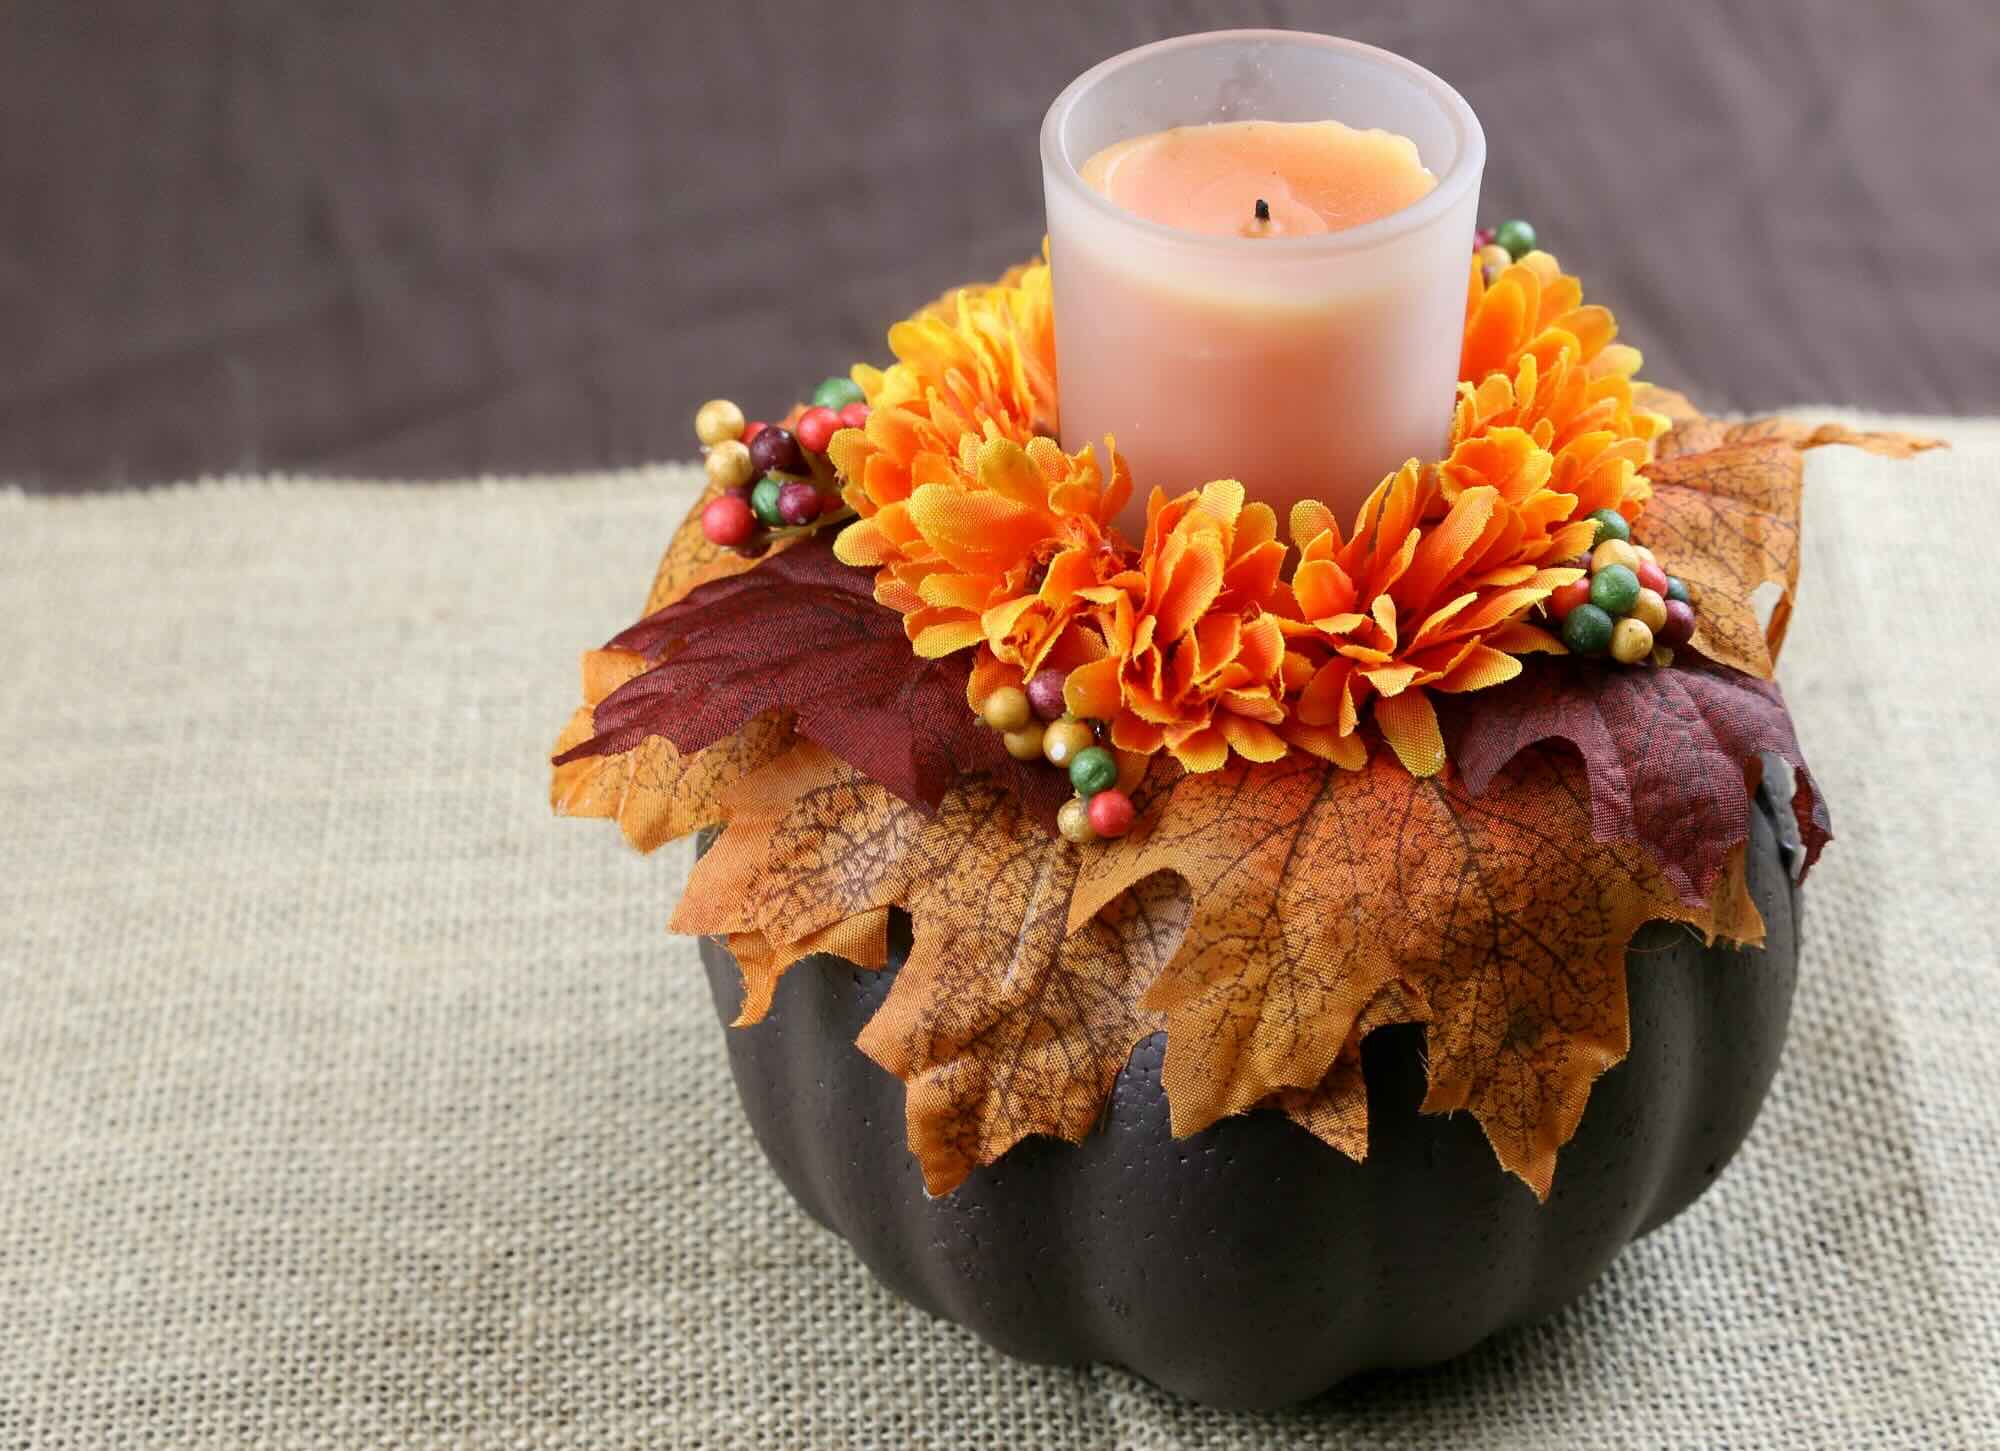
Step 4: Displaying Your Pumpkin Candle Holders
Once your enchanting pumpkin candle holders are aglow with the warm flicker of candlelight, it's time to explore creative and visually captivating ways to display these handcrafted masterpieces throughout your home. The manner in which you showcase your pumpkin candle holders can elevate their impact, transforming them from mere decorations into captivating focal points that exude charm and elegance.
Consider adorning your dining table with a captivating centerpiece composed of an assortment of pumpkin candle holders. Arrange them in a cluster, interspersed with seasonal foliage such as eucalyptus sprigs, pinecones, or vibrant autumn leaves. This arrangement will infuse your dining space with a rustic yet refined ambiance, creating a captivating focal point that beckons admiration and conversation.
For a touch of whimsical charm, consider placing individual pumpkin candle holders on side tables, accentuating cozy reading nooks, or adorning kitchen countertops. Their warm glow will impart a sense of comfort and tranquility to these spaces, inviting moments of relaxation and contemplation.
Elevate the ambiance of your living room by incorporating the pumpkin candle holders into your mantel decor. Pair them with rustic lanterns, woven textiles, and seasonal accents to create a captivating tableau that celebrates the spirit of the fall season. The interplay of textures and warm candlelight will imbue the space with an inviting allure, evoking a sense of enchantment and coziness.
To add a touch of enchantment to outdoor gatherings, consider placing your pumpkin candle holders along pathways, garden tables, or patio settings. Their soft glow will create an enchanting atmosphere, perfect for al fresco dining or evening gatherings under the stars. Embrace the natural beauty of the outdoors by incorporating these charming creations into your garden or outdoor entertaining spaces.
By thoughtfully integrating your pumpkin candle holders into various areas of your home, you can curate an enchanting ambiance that celebrates the timeless allure of the fall season. The warm and captivating glow emanating from these handcrafted treasures will infuse your living space with an irresistible charm, inviting admiration and delight from all who behold them.
With your pumpkin candle holders proudly on display, you have successfully transformed humble pumpkins into captivating works of art that radiate warmth and elegance throughout your home. Embrace the enchanting ambiance they create, and revel in the joy of showcasing your creativity and craftsmanship for all to admire.
Conclusion
In conclusion, the journey of crafting DIY pumpkin candle holders has been a delightful exploration of creativity, artistry, and home improvement. From the initial selection of the perfect pumpkins to the intricate process of carving and finally, the enchanting display of the finished candle holders, this endeavor has been a testament to the transformative power of simple materials and imaginative vision.
As we reflect on the process, it becomes evident that the act of crafting pumpkin candle holders transcends mere decoration. It embodies a celebration of the fall season, infusing living spaces with a captivating warmth and charm that resonates with the essence of autumn. The soft glow of candlelight dancing through the intricately carved pumpkins evokes a sense of tranquility and enchantment, inviting moments of contemplation and connection.
The DIY aspect of this project adds a deeply personal touch to home decor, allowing individuals to express their unique style and creativity. Each carved design, whether whimsical or elegant, reflects the personality and artistry of its creator, transforming the humble pumpkins into captivating works of art that captivate the eye and uplift the spirit.
Furthermore, the process of crafting pumpkin candle holders serves as a reminder of the joy found in simple pleasures and creative expression. It encourages individuals to embrace the meditative and therapeutic nature of crafting, fostering a sense of fulfillment and accomplishment as they witness their creations come to life.
As these enchanting candle holders find their place within homes, they become more than mere decorations; they become focal points that evoke admiration and delight. Whether adorning dining tables, mantels, or outdoor settings, they infuse the surroundings with an irresistible allure, creating a welcoming and cozy atmosphere that beckons all who encounter them.
In essence, the journey of crafting DIY pumpkin candle holders is a celebration of creativity, craftsmanship, and the timeless allure of the fall season. It is a testament to the transformative power of artful expression and the enchanting ambiance that can be created through simple yet imaginative endeavors. As we bask in the warm glow of these handcrafted treasures, we are reminded of the beauty that can be found in the art of creation and the joy of infusing our living spaces with a touch of enchantment.