
Home>Create & Decorate>DIY & Crafts>Crafty Christmas: DIY Stocking For A Festive Home Makeover
DIY & Crafts
Crafty Christmas: DIY Stocking For A Festive Home Makeover
Published: February 9, 2024

Content Creator specializing in woodworking and interior transformations. Caegan's guides motivate readers to undertake their own projects, while his custom furniture adds a personal touch.
Get into the holiday spirit with our DIY stocking ideas for a festive home makeover. Explore fun and creative crafts to make your Christmas extra special!
(Many of the links in this article redirect to a specific reviewed product. Your purchase of these products through affiliate links helps to generate commission for Twigandthistle.com, at no extra cost. Learn more)
Introduction
The holiday season is a time of joy, warmth, and creativity. One of the most cherished traditions during this festive period is the hanging of stockings, a symbol of anticipation and excitement for the gifts and surprises that await. While store-bought stockings are readily available, there's something truly special about crafting your own DIY stocking. Not only does it allow for personalization and creativity, but it also adds a unique touch to your holiday decor.
In this guide, we'll take you through the step-by-step process of creating your very own DIY stocking, perfect for adding a homemade charm to your Christmas celebrations. Whether you're a seasoned crafter or a beginner looking to explore your creative side, this project is a wonderful way to infuse your home with the spirit of the season.
By following these simple yet rewarding steps, you'll be able to design a stocking that reflects your individual style and preferences. From selecting the perfect fabric to adding decorative elements, each stage of the process offers an opportunity to infuse your personality into this timeless holiday tradition.
So, gather your crafting supplies, unleash your imagination, and get ready to embark on a delightful journey of DIY stocking creation. Whether you're making stockings for your family, friends, or even pets, this project is sure to bring a sense of fulfillment and joy as you witness your handmade creations adorning the mantelpiece or staircase.
Let's dive into the world of DIY crafting and transform ordinary materials into cherished holiday keepsakes that will be treasured for years to come. Get ready to infuse your home with the magic of the season as we embark on this crafty Christmas adventure together!
Materials Needed
To embark on this delightful DIY stocking project, you'll need a few essential materials to bring your creative vision to life. Here's a comprehensive list of items that will guide you through the crafting process:
-
Fabric: Choose a fabric that resonates with your personal style and complements your existing holiday decor. Opt for traditional red and green plaid for a classic look, or explore whimsical prints and textures to add a modern twist to your stockings.
-
Scissors: A reliable pair of fabric scissors is crucial for cutting the stocking pattern and trimming any excess material with precision.
-
Sewing Machine or Needle and Thread: Depending on your preference and expertise, you can use a sewing machine for a quicker assembly or opt for hand-sewing with a needle and thread for a more traditional approach.
-
Stocking Pattern: Whether you draw your own pattern or use a pre-made template, having a clear outline of the stocking shape is essential for achieving a professional-looking finish.
-
Pins: These will come in handy for securing the fabric layers together before sewing, ensuring that the stocking maintains its shape throughout the crafting process.
-
Decorative Elements: Consider embellishments such as ribbons, lace, pom-poms, or sequins to add a festive flair to your stockings. These decorative elements will elevate the overall aesthetic and make your DIY creations truly unique.
-
Iron and Ironing Board: Preparing the fabric by ironing out any wrinkles or creases is essential for achieving a polished and professional appearance.
-
Optional: Fabric Glue or Hot Glue Gun: If you plan to add intricate details or embellishments that may be challenging to sew, having fabric glue or a hot glue gun on hand can simplify the attachment process.
-
Lining Fabric (Optional): If you prefer a lined stocking for added durability and structure, consider selecting a complementary lining fabric to pair with your main fabric.
-
Measuring Tape: Accurate measurements are crucial for ensuring that your stocking turns out the perfect size and shape, so having a measuring tape on hand is highly recommended.
By gathering these materials, you'll be well-equipped to embark on your DIY stocking-making journey with confidence and creativity. Each item plays a vital role in the crafting process, allowing you to transform basic materials into cherished holiday keepsakes that will bring joy to your home and loved ones.
Step 1: Choose Your Fabric
The first and perhaps most crucial step in creating a DIY stocking is selecting the perfect fabric. The fabric you choose sets the tone for the overall aesthetic of the stocking, allowing you to infuse it with your unique style and personality. When browsing for fabric, consider the theme of your holiday decor and the ambiance you wish to create. Traditional red and green plaid exudes a timeless charm, while solid colors like rich velvet or cozy fleece offer a luxurious touch. If you're aiming for a more contemporary look, explore whimsical prints featuring snowflakes, reindeer, or other festive motifs.
In addition to considering the visual appeal, it's important to think about the texture and weight of the fabric. A sturdy cotton or wool blend works well for classic, durable stockings, while soft fleece or faux fur can add a cozy and inviting feel. If you're planning to hang heavier stocking stuffers, opt for a fabric with some heft to ensure it can support the weight without losing its shape.
Furthermore, if you're creating multiple stockings for a cohesive look, ensure that the fabrics complement each other harmoniously. Coordinating colors or patterns can tie the ensemble together, while incorporating a variety of textures adds visual interest.
Once you've chosen your main fabric, consider whether you'd like to add a lining for extra durability and a polished interior finish. A complementary lining fabric can elevate the overall quality of the stocking and provide a professional touch.
By carefully selecting the fabric for your DIY stocking, you're laying the foundation for a personalized and visually stunning holiday decor piece. This initial step sets the stage for the creative journey ahead, allowing you to transform basic materials into a cherished symbol of the season. With the fabric in hand, you're ready to move on to the next step and bring your vision of a custom DIY stocking to life.
Step 2: Cut Out the Stocking Shape
With your chosen fabric in hand, it's time to bring the stocking to life by cutting out the desired shape. This step is crucial in ensuring that your DIY stocking takes on the classic silhouette that embodies the holiday spirit. Whether you're using a pre-made stocking pattern or creating your own template, precision and attention to detail are key as you embark on this fundamental stage of the crafting process.
Begin by laying your fabric on a flat surface, ensuring that it is smooth and free of wrinkles. If you're using a stocking pattern, carefully place it on the fabric, making sure that the pattern aligns with the grain of the fabric for optimal stability and visual appeal. If you're drawing your own stocking shape, use a fabric marker or chalk to outline the desired silhouette directly onto the fabric.
Once the stocking shape is outlined, it's time to reach for your trusty pair of fabric scissors. With steady hands, carefully cut along the marked lines, ensuring smooth and even edges. Take your time during this step, as precise cutting is essential for achieving a professional-looking finish.
If you're creating multiple stockings, be sure to repeat this process for each piece of fabric, ensuring consistency in size and shape. Attention to detail at this stage will result in a cohesive set of stockings that exude a polished and harmonious aesthetic when displayed together.
In addition to cutting out the main stocking shape, consider whether you'd like to add a cuff or trim to your stocking. This is the perfect opportunity to incorporate contrasting or complementary fabrics, adding an extra layer of visual interest to your DIY creation. If you opt for a cuff, be sure to cut out the additional fabric according to your desired measurements, taking into account the width and length that will best complement the main stocking body.
By the end of this step, you'll have beautifully cut pieces of fabric that form the foundation of your DIY stockings. The careful precision and attention to detail invested in cutting out the stocking shape will set the stage for the next phase of the crafting journey, allowing you to seamlessly progress towards bringing your unique vision to life. With the stocking shapes ready, you're one step closer to witnessing your handmade creations come together in a delightful display of holiday charm.
Step 3: Sew the Stocking Together
With the carefully cut stocking pieces at the ready, it's time to bring them together through the art of sewing. Whether you opt for the precision of a sewing machine or the timeless charm of hand-sewing, this step is where your DIY stocking truly begins to take shape.
If you're using a sewing machine, start by pinning the two stocking pieces together with the right sides facing each other. This ensures that the seams will be on the inside once the stocking is turned right side out. Using a straight stitch, carefully sew along the edges, leaving the top open for the stocking's opening. Be sure to reinforce the seams at the beginning and end for added durability.
For those embracing the traditional approach of hand-sewing, a simple whipstitch or running stitch can effectively join the stocking pieces. Take care to maintain even stitches and secure the seams firmly to prevent unraveling over time.
As you sew around the curves of the stocking, gently pivot the fabric to ensure smooth, rounded edges. This attention to detail contributes to a professional finish, creating a stocking that exudes craftsmanship and care.
Once the main body of the stocking is securely sewn together, it's time to address any additional elements such as cuffs or trims. If you've opted to include these features, carefully attach them to the top of the stocking using the same sewing method, ensuring that the edges align seamlessly.
If you've chosen to line your stocking, this is the stage where the lining fabric is incorporated. By following the same sewing process, you can create a lined stocking that boasts a polished interior and added durability.
After completing the sewing process, take a moment to admire the transformation taking place. The carefully stitched seams and thoughtfully attached details mark the transition from individual fabric pieces to a cohesive and charming stocking.
With the sewing stage complete, the next step will involve adding decorative elements that infuse your DIY stocking with festive flair and personal touches. As you progress through the crafting journey, each step brings you closer to the joyous moment when your handmade stockings will grace your home with warmth and holiday cheer.
Step 4: Add Decorative Elements
With the main body of the stocking assembled, it's time to infuse your DIY creation with festive charm by adding decorative elements. This stage allows you to unleash your creativity and personalize each stocking, transforming it from a basic fabric piece into a cherished holiday keepsake.
One of the most popular ways to embellish a DIY stocking is by adding a cuff or trim. Whether you opt for a contrasting fabric, faux fur, or a shimmering metallic material, the cuff serves as a focal point that elevates the overall aesthetic. Carefully align the cuff with the top edge of the stocking and secure it in place using a sewing machine or hand-stitching, ensuring a seamless integration with the main body.
In addition to the cuff, consider incorporating embellishments such as ribbons, lace, or pom-poms to add an extra layer of visual interest. These decorative elements can be strategically positioned along the cuff or used to create intricate patterns and designs on the stocking's surface. Whether you prefer a minimalist approach or a more lavish display, the addition of these details imparts a sense of whimsy and personality to your DIY creation.
Furthermore, the top of the stocking presents an ideal canvas for personalization. Whether it's embroidering a loved one's name, adding a monogram, or attaching decorative appliques, this is the perfect opportunity to tailor each stocking to its intended recipient. These personalized touches not only make the stockings unique but also convey a heartfelt sentiment that resonates with the spirit of the season.
For those seeking a touch of sparkle, consider incorporating sequins, beads, or metallic thread into the design. These shimmering accents catch the light and impart a magical quality to the stockings, making them stand out as enchanting additions to your holiday decor.
As you add these decorative elements, take a step back and admire the transformation taking place. Each carefully chosen detail contributes to the overall charm and character of the stocking, infusing it with a sense of warmth and joy.
By the end of this stage, your DIY stockings will have evolved from simple fabric pieces into personalized works of art that reflect your creativity and thoughtfulness. With the decorative elements in place, your stockings are now ready to take center stage in your holiday decor, spreading cheer and delight throughout your home.
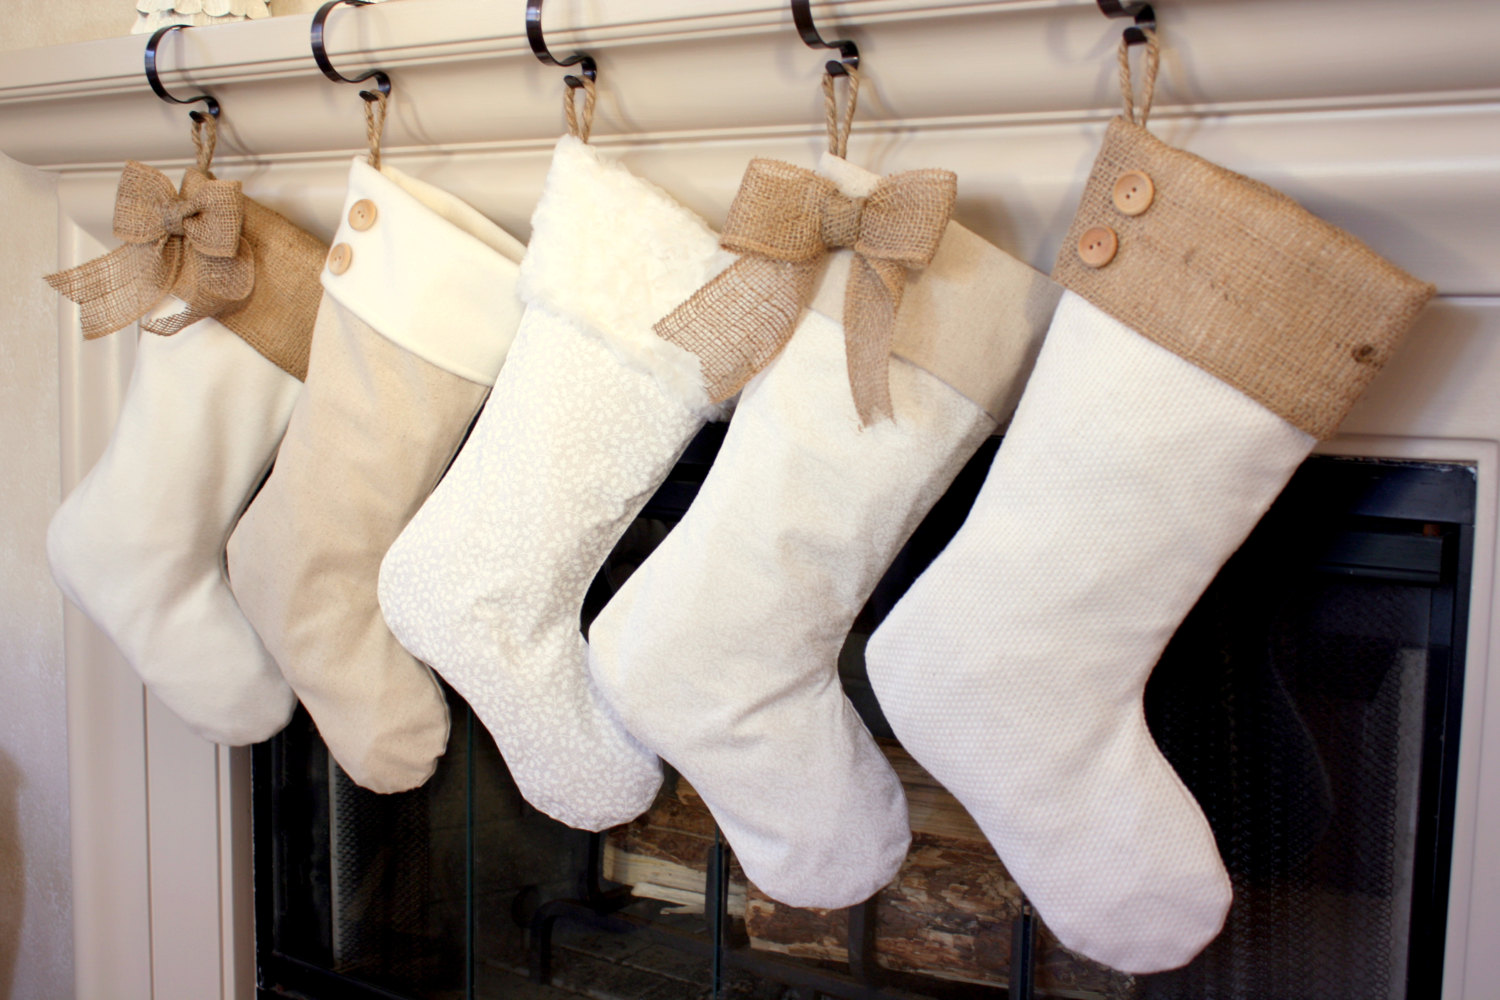
Step 5: Hang and Enjoy!
With your DIY stockings now complete, it's time to revel in the joy of showcasing your handcrafted creations. The culmination of your creative journey is marked by the delightful act of hanging the stockings in a prominent place, where they will serve as a heartwarming symbol of the holiday season.
Select a prime location for displaying your stockings, such as the mantelpiece, staircase railing, or a designated holiday corner. As you carefully hang each stocking, take a moment to appreciate the unique character and personal touches that make them truly one-of-a-kind. The act of hanging the stockings signifies the anticipation and excitement of the season, as they eagerly await to be filled with surprises and cherished gifts.
As the stockings find their place in your home, they seamlessly integrate into the festive ambiance, adding a touch of warmth and tradition to the surroundings. The sight of your handmade stockings evokes a sense of pride and accomplishment, serving as a reminder of the creativity and care invested in their creation.
Throughout the holiday season, your DIY stockings will serve as a visual representation of the joy and togetherness that define this special time of year. Whether you're celebrating with family, friends, or beloved pets, the presence of these personalized stockings adds a layer of sentiment and nostalgia to the holiday atmosphere.
As you bask in the glow of twinkling lights and the aroma of seasonal delights, the sight of your DIY stockings will evoke cherished memories and create new moments of happiness. Their presence becomes a focal point of your holiday decor, captivating the attention of guests and loved ones, who will undoubtedly admire the craftsmanship and creativity behind each unique stocking.
With the stockings proudly on display, you can relish in the knowledge that your DIY creations have contributed to the festive spirit and elevated the overall charm of your home. The act of hanging and enjoying your handmade stockings encapsulates the essence of the holiday season, infusing your surroundings with a sense of warmth, love, and creativity.
As you immerse yourself in the magic of the season, take a moment to admire the stockings that embody the spirit of your unique holiday traditions. Their presence serves as a testament to the joy of DIY crafting and the meaningful impact of handmade decor in creating a truly enchanting and memorable holiday experience.