
Home>Create & Decorate>DIY & Crafts>DIY Lunch Bag Dads: Home Improvement Hacks For Busy Fathers
DIY & Crafts
DIY Lunch Bag Dads: Home Improvement Hacks For Busy Fathers
Modified: May 30, 2024

Senior Editor in Create & Decorate, Kathryn combines traditional craftsmanship with contemporary trends. Her background in textile design and commitment to sustainable crafts inspire both content and community.
Discover easy DIY and craft ideas for busy dads with our home improvement hacks and lunch bag projects. Simplify your life with our practical tips and tutorials.
(Many of the links in this article redirect to a specific reviewed product. Your purchase of these products through affiliate links helps to generate commission for Twigandthistle.com, at no extra cost. Learn more)
Introduction
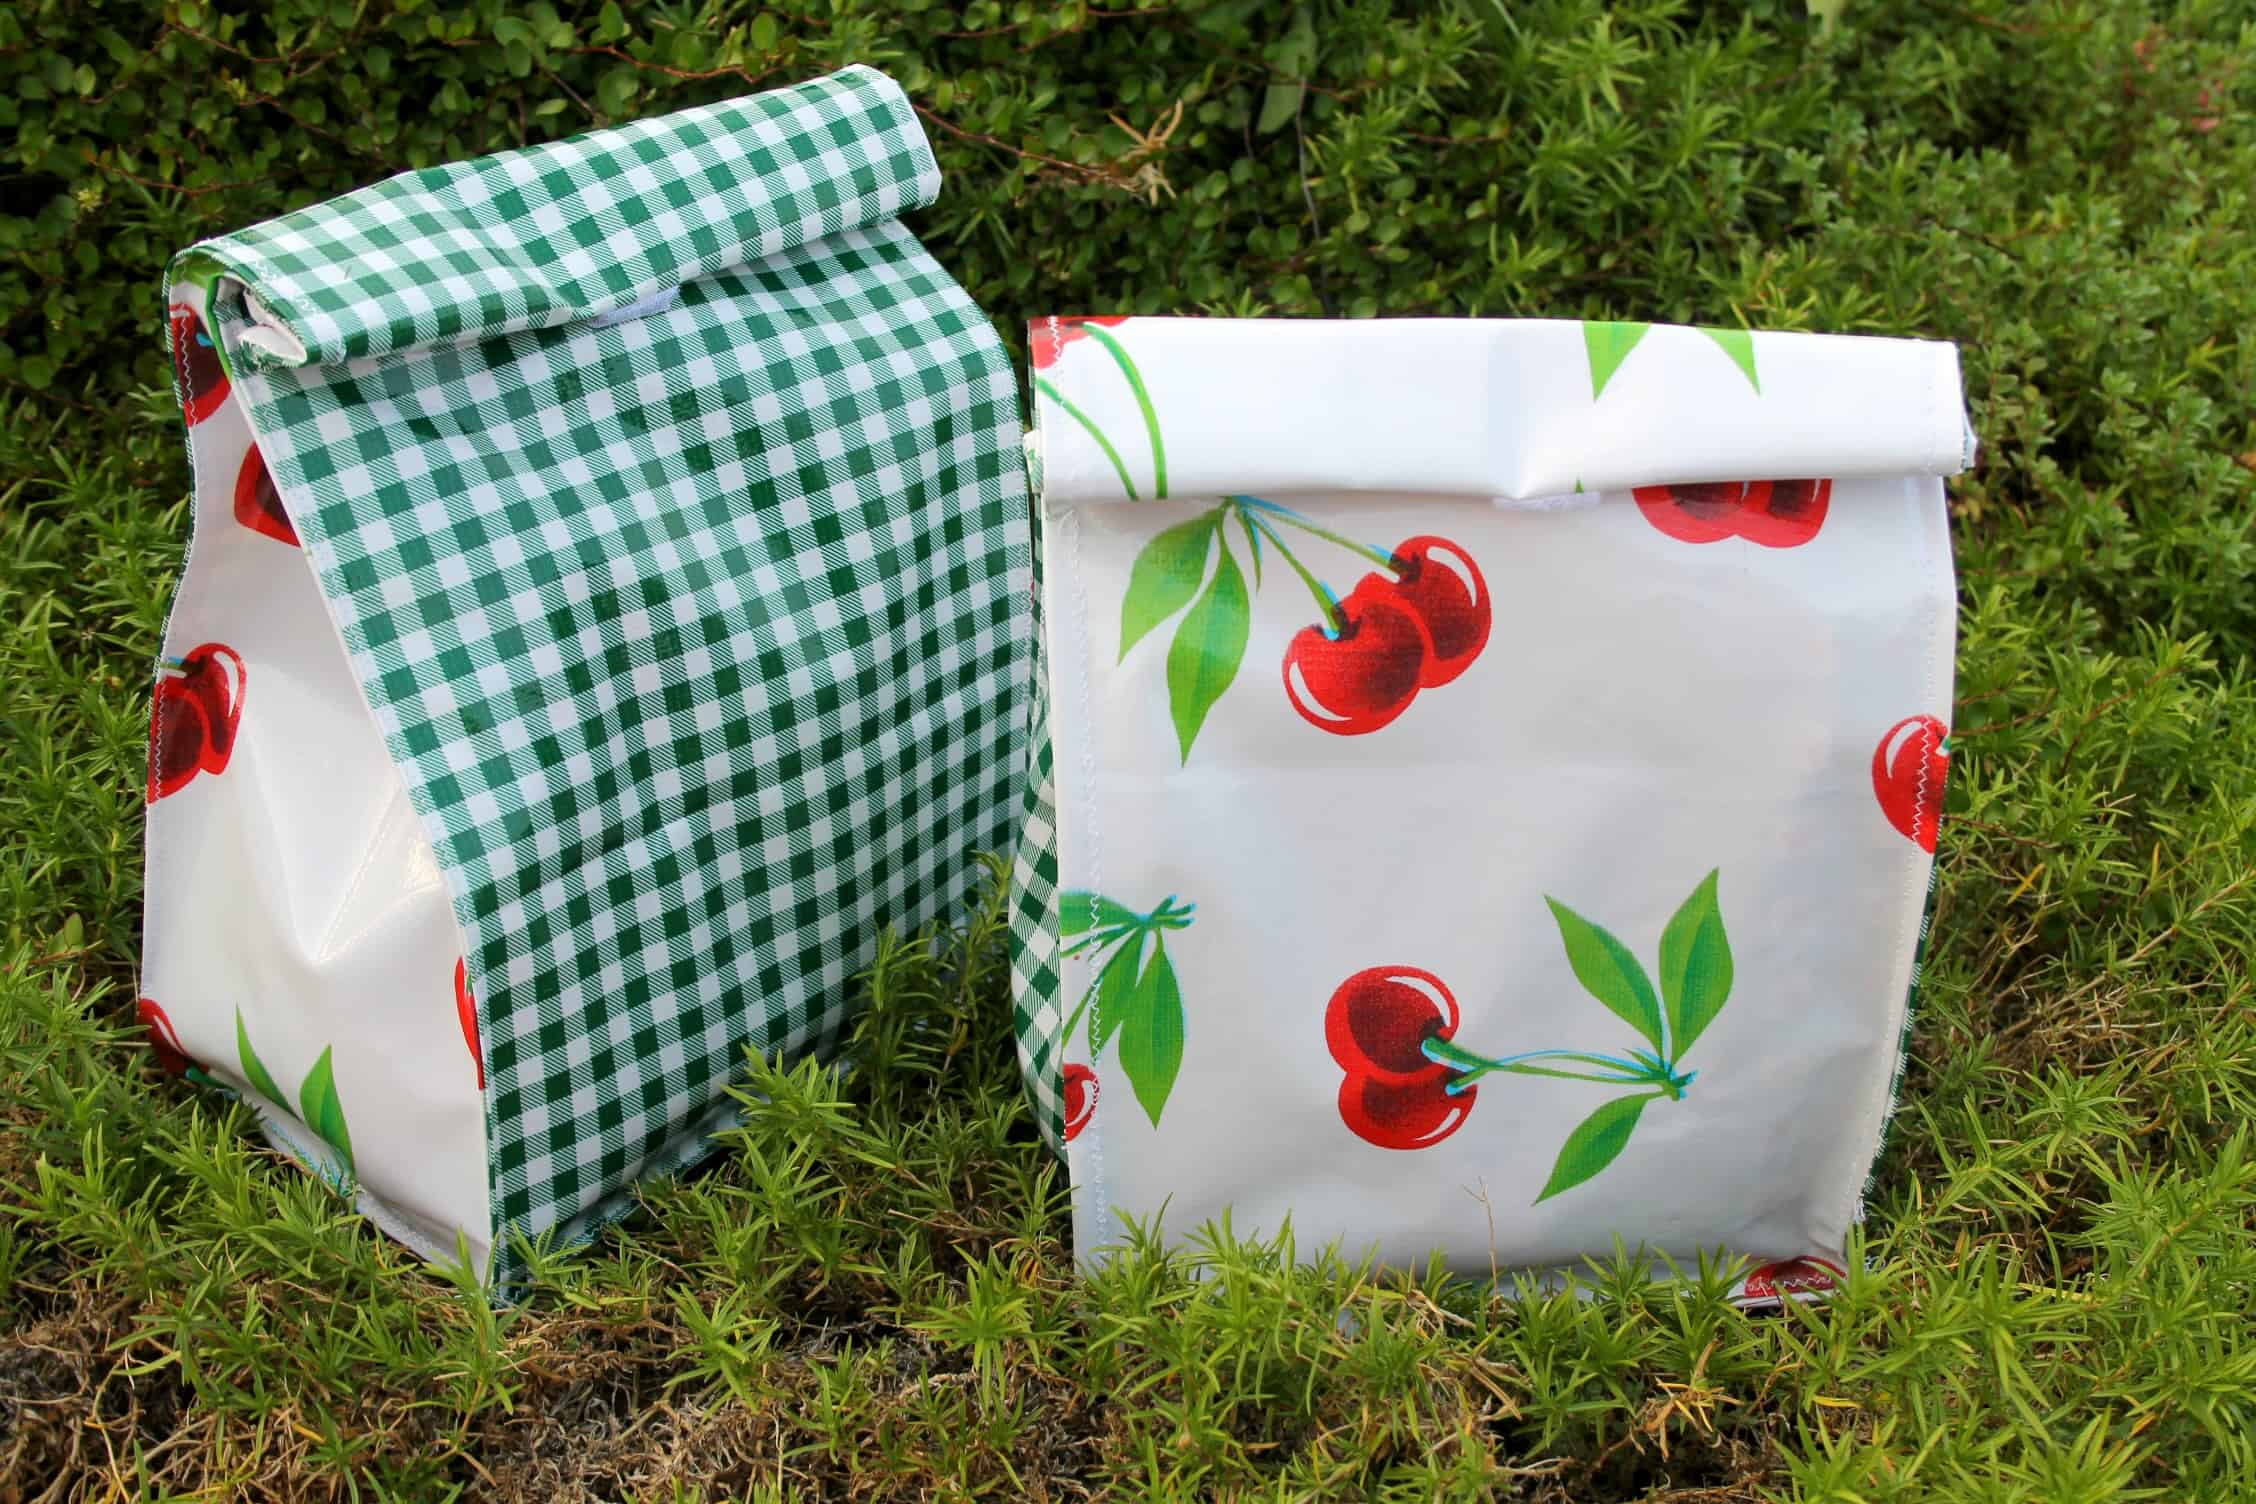
Welcome to the world of DIY lunch bags for dads! In this comprehensive guide, we will explore the art of creating custom lunch bags tailored to the unique needs of busy fathers. Whether you're a seasoned DIY enthusiast or a newcomer to the world of crafting, this article will equip you with the knowledge and inspiration to embark on a fulfilling and practical project.
As a dad, juggling work, family, and personal time can be a demanding feat. Oftentimes, the simple act of preparing a packed lunch can become a rushed and overlooked task. However, with a personalized DIY lunch bag, you can streamline this process and add a touch of creativity to your daily routine.
By crafting your own lunch bag, you have the opportunity to infuse it with your personal style and preferences. From selecting the perfect fabric to adding convenient pockets and insulation, the possibilities are endless. Not only does this project offer a practical solution for storing and transporting meals, but it also serves as a creative outlet for self-expression.
Throughout this guide, we will delve into the essential steps of creating a DIY lunch bag, from choosing the right materials to adding insulation and customizing for style and function. Whether you're a novice in the realm of sewing or a seasoned craftsman, the tips and techniques provided here will empower you to embark on this rewarding endeavor.
So, grab your sewing kit, unleash your creativity, and get ready to embark on a journey of DIY lunch bag creation tailored specifically for busy dads. Let's dive into the world of home improvement hacks that will revolutionize the way you approach meal preparation and add a personal touch to your daily routine.
Section 1: Choosing the Right Materials
When embarking on the journey of creating a DIY lunch bag, the first crucial step is selecting the right materials. The choice of fabric, lining, and additional components will determine the durability, functionality, and aesthetic appeal of the final product. As a busy dad, it's essential to opt for materials that not only withstand daily wear and tear but also reflect your personal style.
Fabric Selection
The fabric serves as the foundation of your DIY lunch bag, dictating its overall look and feel. For a durable and easy-to-clean option, consider using canvas or denim. These materials offer sturdiness and can withstand the rigors of daily use, making them ideal choices for a practical lunch bag. Additionally, they provide a versatile canvas for customization through embellishments or personalized designs.
Lining and Insulation
Incorporating a lining into your lunch bag is essential for maintaining cleanliness and enhancing its overall structure. Opt for a water-resistant and easy-to-clean lining fabric, such as nylon or laminated cotton, to ensure that any spills or leaks are contained and easily wiped away. Furthermore, adding insulation to the lining will help maintain the temperature of your packed meals, ensuring that hot items stay warm and cold items remain chilled throughout the day.
Additional Components
Consider the inclusion of sturdy hardware, such as zippers, clasps, and buckles, to reinforce the functionality of your DIY lunch bag. These components not only contribute to the bag's durability but also add a professional and polished touch to the final product. Additionally, incorporating adjustable straps or handles will enhance the bag's portability and comfort during transportation.
Personalization Options
While functionality is paramount, don't overlook the opportunity to infuse your DIY lunch bag with a touch of personalization. Explore options for decorative elements, such as patches, embroidery, or fabric paint, to add a unique flair that reflects your individuality. Whether it's a favorite pattern, a meaningful quote, or a playful design, these personal touches will transform your lunch bag into a statement piece that resonates with your personality.
By carefully considering these material choices, you can lay a solid foundation for the construction of a DIY lunch bag that aligns with your practical needs and personal style. The right materials will not only ensure the longevity and functionality of the bag but also provide a canvas for creative expression, resulting in a one-of-a-kind accessory that seamlessly integrates into your daily routine.
Section 2: Sewing Basics for Beginners
Sewing is a fundamental skill that forms the backbone of creating a DIY lunch bag. For beginners venturing into the world of crafting, mastering the basics of sewing is an empowering and essential step. With a few foundational techniques and a bit of practice, you can embark on this rewarding journey with confidence and enthusiasm.
Essential Tools and Equipment
Before diving into the sewing process, it's crucial to gather the necessary tools and equipment. A reliable sewing machine, quality thread, sharp fabric scissors, pins, and a measuring tape are indispensable items for any sewing project. Additionally, having a seam ripper on hand can be a lifesaver for correcting any stitching errors.
Understanding Stitching Techniques
Familiarizing yourself with basic stitching techniques is key to achieving clean and durable seams. The straight stitch, zigzag stitch, and backstitch are fundamental stitches that form the foundation of sewing. Each stitch serves a specific purpose, from joining fabric pieces together to reinforcing seams for added strength.
Seam Allowance and Stitch Length
When sewing fabric pieces together, paying attention to the seam allowance is crucial for achieving precise and professional results. The seam allowance refers to the distance between the edge of the fabric and the line of stitching. By adhering to the designated seam allowance, you ensure that the pieces align correctly and the finished product maintains its intended dimensions. Additionally, adjusting the stitch length on your sewing machine allows you to customize the strength and appearance of the seams, providing versatility for different sections of the lunch bag.
Constructing Basic Shapes
Understanding how to construct basic shapes, such as rectangles and squares, lays the groundwork for assembling the components of the lunch bag. Learning to cut fabric accurately and sew straight lines is essential for creating the main body, pockets, and additional compartments of the bag. As you gain confidence in constructing these shapes, you'll be well-equipped to tackle more intricate designs and patterns.
Practice and Patience
Like any skill, sewing requires practice and patience. Don't be discouraged by initial challenges; instead, view them as opportunities to refine your technique and expand your capabilities. With each stitch, you'll gain a deeper understanding of the craft and grow more adept at bringing your creative visions to life.
By familiarizing yourself with these sewing basics, you'll lay a solid foundation for constructing a DIY lunch bag that reflects your personal style and meets your practical needs. As you hone your skills and gain confidence in your abilities, you'll find that the art of sewing becomes an enjoyable and fulfilling aspect of your crafting journey.
Section 3: Adding Insulation and Lining
The addition of insulation and lining to your DIY lunch bag serves as a pivotal step in enhancing its functionality and practicality. By incorporating these elements, you can ensure that your packed meals remain at the desired temperature while also safeguarding the interior of the bag from spills and stains.
Importance of Insulation
Insulation plays a crucial role in maintaining the temperature of your packed meals, especially when dealing with hot or cold items. By integrating insulating materials into the design of your lunch bag, you can create a thermal barrier that helps preserve the warmth of hot dishes or the coolness of chilled items. This is particularly beneficial for dads on the go, as it ensures that their meals remain fresh and enjoyable throughout the day.
Selecting Insulating Materials
When choosing insulating materials for your DIY lunch bag, consider options such as insulated batting, thermal interfacing, or specialized insulating fabric. These materials are designed to regulate temperature and provide a protective layer that minimizes heat transfer. Additionally, they are lightweight and flexible, allowing for ease of sewing and shaping to fit the dimensions of your bag.
Incorporating a Water-Resistant Lining
In addition to insulation, integrating a water-resistant lining into your lunch bag is essential for maintaining cleanliness and durability. Opt for materials such as nylon, laminated cotton, or oilcloth, which offer a protective barrier against spills and leaks. A water-resistant lining not only simplifies cleaning but also safeguards the exterior fabric from potential damage, ensuring that your DIY lunch bag remains in pristine condition.
Sewing Techniques for Insulation and Lining
When sewing insulation and lining into your lunch bag, it's important to employ techniques that secure these components effectively. Quilting the insulated layers to the lining fabric not only enhances the bag's thermal properties but also prevents shifting or bunching during use. Additionally, reinforcing seams and edges with topstitching or binding further strengthens the construction, ensuring that the insulation and lining remain securely in place.
Customizing for Style and Function
While prioritizing functionality, don't overlook the opportunity to customize the insulation and lining to align with your personal style. Explore the incorporation of patterned or colorful lining fabrics to add a vibrant touch to the interior of the bag. Additionally, consider embellishing the insulated layers with decorative stitching or quilting patterns, infusing your DIY lunch bag with a unique and personalized aesthetic.
By integrating insulation and lining into your DIY lunch bag, you elevate its practicality and durability while ensuring that your packed meals are kept at the optimal temperature. This essential step transforms your homemade creation into a reliable and stylish accessory that seamlessly integrates into the busy lifestyle of a dad on the go.
Section 4: Customizing for Style and Function
Customization is where the magic happens in the creation of a DIY lunch bag for busy dads. This step allows you to infuse your personal style and preferences into the design while ensuring that the bag meets your specific functional needs. From adding convenient pockets to incorporating personalized embellishments, the customization phase offers a myriad of opportunities to transform your DIY lunch bag into a practical and stylish accessory.
Pockets and Compartments
Incorporating well-placed pockets and compartments enhances the functionality of your DIY lunch bag. Consider adding a designated pocket for utensils or napkins, providing easy access to essential dining accessories. Additionally, including a separate compartment for an ice pack or condiment containers ensures that these items remain secure and organized within the bag. By strategically designing these pockets and compartments, you optimize the storage capacity and accessibility of the lunch bag, streamlining the packing and unpacking process.
Embellishments and Personalization
Personalization is the hallmark of a truly unique DIY creation. Whether it's adding embroidered initials, attaching decorative patches, or incorporating fabric appliques, personalized embellishments infuse the lunch bag with a touch of individuality. These custom elements not only reflect your personality but also make the bag easily identifiable, preventing mix-ups in shared spaces such as offices or communal refrigerators. Furthermore, the act of personalizing the bag adds a sentimental value, transforming it into a cherished item that resonates with your identity and style.
Adjustable Straps and Handles
The inclusion of adjustable straps or handles contributes to the overall comfort and convenience of the DIY lunch bag. Adjustable straps allow for customization based on individual preferences, ensuring that the bag can be comfortably carried by dads of varying heights and build. Additionally, padded handles provide a comfortable grip, making transportation effortless, especially during busy commutes or outdoor activities. By prioritizing comfort and ergonomics, you elevate the practicality of the lunch bag, making it a reliable companion for daily use.
Stylish Accents and Finishing Touches
Adding stylish accents and finishing touches elevates the aesthetic appeal of the DIY lunch bag. Consider incorporating contrasting piping or trim to highlight the contours of the bag, adding a visually striking element to the design. Additionally, selecting decorative hardware, such as metal clasps or leather accents, imparts a sophisticated and polished look to the bag. These subtle yet impactful details contribute to the overall visual appeal, transforming the DIY creation into a stylish accessory that seamlessly integrates into various settings, from office environments to outdoor excursions.
By customizing your DIY lunch bag for style and function, you create a personalized and practical accessory that caters to the unique needs of a busy dad. The thoughtful integration of pockets, personalized embellishments, adjustable straps, and stylish accents culminates in a one-of-a-kind creation that not only simplifies meal transportation but also reflects your individuality and enhances your daily routine.
Conclusion
In conclusion, the journey of creating a DIY lunch bag for busy dads is a testament to the fusion of practicality, creativity, and personalization. From the initial selection of materials to the final touches of customization, this endeavor encapsulates the spirit of home improvement hacks tailored specifically for the modern father.
Throughout this comprehensive guide, we have explored the essential steps and considerations involved in crafting a custom lunch bag. The process begins with the careful selection of materials, where the choice of fabric, lining, insulation, and additional components lays the foundation for a durable and personalized creation. The subsequent exploration of sewing basics equips beginners with the fundamental skills necessary to bring their vision to life, fostering a sense of empowerment and accomplishment.
The pivotal addition of insulation and lining elevates the functionality of the DIY lunch bag, ensuring that packed meals remain at the desired temperature while safeguarding the interior from spills and stains. This step not only enhances the practicality of the bag but also underscores the importance of thoughtful design in everyday accessories.
The customization phase serves as the crowning glory of the DIY lunch bag creation, allowing dads to infuse their personal style and preferences into the design. From strategically placed pockets and personalized embellishments to adjustable straps and stylish accents, this phase transforms the bag into a practical and stylish accessory that seamlessly integrates into the daily routine of a busy father.
Ultimately, the process of crafting a DIY lunch bag transcends the mere act of creating a functional item; it embodies a journey of self-expression, resourcefulness, and the joy of handmade craftsmanship. By embarking on this endeavor, busy dads not only streamline their meal preparation and transportation but also imbue their daily routine with a touch of creativity and individuality.
As we conclude this guide, it is my hope that the insights and techniques shared here inspire dads to embark on their own DIY lunch bag creation, embracing the opportunity to merge practicality with personal flair. Through this endeavor, may every father find joy in the art of crafting and experience the satisfaction of using a custom accessory that reflects their unique identity and enhances their daily life.