
Home>Create & Decorate>DIY & Crafts>Transform Your Table With A DIY Oilcloth Table Cover: A Home Improvement Project
DIY & Crafts
Transform Your Table With A DIY Oilcloth Table Cover: A Home Improvement Project
Modified: May 30, 2024

Content Creator specializing in woodworking and interior transformations. Caegan's guides motivate readers to undertake their own projects, while his custom furniture adds a personal touch.
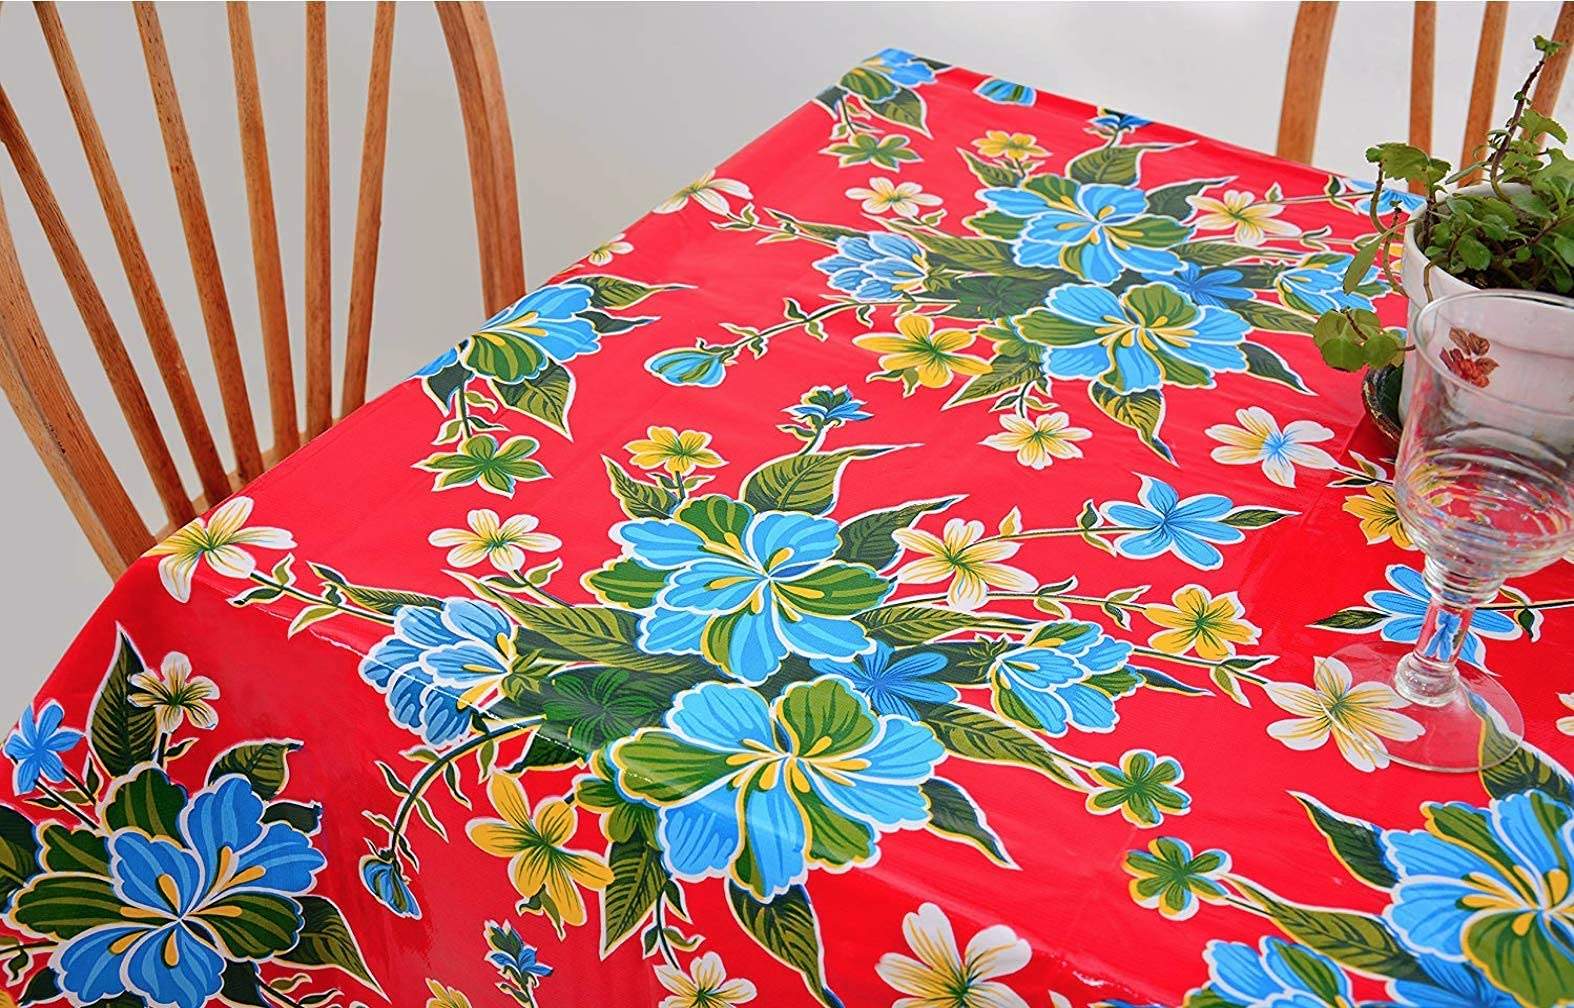
Transform your table with a DIY oilcloth table cover! Get creative with this home improvement project and elevate your space. Perfect for DIY & Crafts enthusiasts.
(Many of the links in this article redirect to a specific reviewed product. Your purchase of these products through affiliate links helps to generate commission for Twigandthistle.com, at no extra cost. Learn more)
Introduction
Are you looking to breathe new life into your dining table or outdoor patio setup? A DIY oilcloth table cover might just be the perfect solution. This simple yet impactful home improvement project can instantly transform the look and feel of your table while providing practical benefits. Whether you're aiming to protect your table from spills and stains or seeking to infuse a fresh burst of color and style into your living space, creating a custom oilcloth table cover is a fantastic way to achieve both.
By crafting your own oilcloth table cover, you have the freedom to select the perfect fabric that complements your existing decor and suits your personal taste. Additionally, this project allows you to unleash your creativity by adding unique embellishments and customizing the cover to reflect your individual style. From vibrant patterns to elegant solids, the possibilities are endless when it comes to selecting the ideal oilcloth material for your table cover.
Not only does this DIY project offer aesthetic benefits, but it also provides a practical solution for protecting your table from everyday wear and tear. The durable and water-resistant nature of oilcloth makes it an ideal choice for a table cover, as it can easily withstand spills and messes, making cleanup a breeze. Whether you're hosting a lively dinner party or enjoying a casual outdoor meal, an oilcloth table cover offers peace of mind, knowing that your table is shielded from potential damage.
In this comprehensive guide, we will walk you through the step-by-step process of creating your own DIY oilcloth table cover. From measuring and cutting the oilcloth to adding finishing touches, you'll gain valuable insights and tips to ensure that your project is a resounding success. So, roll up your sleeves, gather your materials, and get ready to embark on a rewarding home improvement endeavor that will leave you with a stunning and practical table cover that you can proudly display and enjoy for years to come.
Materials Needed
Before diving into this exciting DIY project, it's essential to gather all the necessary materials to ensure a smooth and efficient crafting process. Here's a comprehensive list of the items you'll need to create your own stunning oilcloth table cover:
-
Oilcloth Fabric: The star of the show! Select a high-quality oilcloth fabric in your preferred color or pattern. Ensure that the dimensions of the fabric are sufficient to cover your table with a generous overhang for a polished look.
-
Measuring Tape: A reliable measuring tape is crucial for accurately determining the dimensions of your table and the corresponding size of the oilcloth cover.
-
Fabric Scissors: Sharp fabric scissors will be your best friend during the cutting process. Opt for a pair that effortlessly cuts through oilcloth without fraying the edges.
-
Straight Pins: These will come in handy for securing the fabric in place while measuring and cutting, ensuring precise and clean edges.
-
Sewing Machine or Fabric Glue: Depending on your preference and skill level, you can choose to either sew the edges of the oilcloth cover or use fabric glue for a "no-sew" alternative.
-
Thread: If you opt for sewing, select a durable thread that complements the color of your oilcloth fabric.
-
Velcro Strips or Elastic: To ensure a snug and secure fit, you'll need either velcro strips or elastic to fasten the table cover in place.
-
Ruler or Straight Edge: A ruler or straight edge will aid in creating precise hems and ensuring uniformity throughout the project.
-
Embellishments (Optional): If you're feeling creative, consider adding decorative trim, tassels, or other embellishments to personalize your table cover and elevate its visual appeal.
-
Iron (if hemming): If you choose to hem the edges of the oilcloth cover, an iron will be essential for creating crisp and polished folds.
By gathering these essential materials, you'll be well-equipped to embark on your DIY oilcloth table cover project with confidence and enthusiasm. With everything in place, you're ready to move on to the exciting next step: measuring and cutting the oilcloth fabric.
Step 1: Measure and Cut the Oilcloth
The initial step in creating your DIY oilcloth table cover is to accurately measure and cut the oilcloth fabric to fit your table. This crucial phase sets the foundation for a perfectly tailored cover that not only enhances the aesthetic appeal of your table but also provides a practical shield against spills and stains.
Begin by clearing a spacious, flat surface where you can lay out the oilcloth fabric. Ensure that the fabric is spread out smoothly, free from wrinkles or creases, to facilitate precise measurements and clean cuts. With your measuring tape in hand, carefully measure the length and width of your table, including any desired overhang. It's advisable to add an extra 8-10 inches to the measurements to allow for a graceful drape over the edges of the table.
Once you have determined the appropriate dimensions, use straight pins to mark the measurements directly onto the oilcloth fabric. This step helps create a clear guide for cutting, ensuring that you stay on track and maintain accuracy throughout the process. With the fabric securely pinned, use sharp fabric scissors to cut along the marked lines, following a steady and even motion to achieve clean and precise edges.
When cutting the oilcloth, it's essential to use a gentle touch to prevent fraying and maintain the integrity of the fabric. Take your time and exercise patience during this phase, as a well-executed cut sets the stage for a polished and professional-looking table cover.
After the initial cut, carefully remove any stray threads or loose fibers to ensure a neat and tidy finish. Once the fabric is cut to the correct size, take a moment to drape it over your table to verify the fit and overhang. This step allows you to make any necessary adjustments before proceeding to the next phase of hemming the edges.
By meticulously measuring and cutting the oilcloth fabric, you lay the groundwork for a beautifully tailored table cover that perfectly complements your table while offering practical benefits. With this crucial step completed, you're ready to move on to the next phase of hemming the edges to further refine your custom oilcloth table cover.
Step 2: Hem the Edges
With the oilcloth fabric cut to the perfect size for your table, the next essential step in creating your DIY oilcloth table cover is to hem the edges. Hemming not only adds a polished and professional touch to the cover but also reinforces the edges, ensuring durability and longevity. Whether you opt for a traditional sewn hem or choose a no-sew approach using fabric glue, this phase plays a pivotal role in elevating the overall look and functionality of your table cover.
If you prefer a sewn hem, begin by folding the edge of the oilcloth fabric over by approximately 1/2 inch to create a clean and even fold. Secure the fold in place using straight pins, ensuring that the fabric remains smooth and taut. Once the edge is pinned, carefully stitch along the fold using a sewing machine and a durable thread that complements the color of the oilcloth. A straight and consistent stitch will contribute to a professional finish, so take your time and maintain a steady hand as you sew along the edge.
Alternatively, if you opt for a no-sew approach, fabric glue offers a convenient and effective method for hemming the edges of the oilcloth cover. Apply a thin, even line of fabric glue along the edge of the fabric, then carefully fold the fabric over to create a neat hem. Press down firmly to secure the hem in place, ensuring that the fabric glue adheres smoothly and uniformly. Allow the glue to dry completely according to the manufacturer's instructions, providing a strong and durable bond that withstands regular use and cleaning.
Whichever hemming method you choose, it's important to work methodically and precisely to achieve a consistent and polished result. Once all the edges are hemmed, take a moment to inspect the cover, ensuring that the hems are secure and free from any loose or frayed areas. A well-executed hem not only enhances the visual appeal of the table cover but also reinforces the edges, contributing to its overall resilience and longevity.
By completing the crucial step of hemming the edges, you're one step closer to enjoying a beautifully crafted and custom oilcloth table cover that perfectly suits your table and personal style. With the edges neatly hemmed, the next phase involves adding velcro or elastic to ensure a snug and secure fit for your cover, bringing you closer to the completion of this rewarding home improvement project.
Step 3: Add Velcro or Elastic
With the edges neatly hemmed, the next crucial step in creating your DIY oilcloth table cover is to add velcro or elastic to ensure a snug and secure fit. This phase not only enhances the practical functionality of the cover but also contributes to its overall polished and professional appearance. By incorporating velcro or elastic, you can rest assured that your custom table cover will stay in place, providing a seamless and tailored look while offering practical benefits.
If you opt for velcro as the fastening method, begin by measuring and cutting the velcro strips to the appropriate length. Position one set of velcro strips along the underside of the hemmed edge of the table cover, ensuring that they align perfectly with the corresponding strips that will be attached to the table. Secure the velcro strips in place using fabric glue or by sewing them onto the fabric, ensuring a strong and durable bond. Once the velcro strips are securely attached to the table cover, position the complementary set of velcro strips onto the table itself, aligning them precisely with the strips on the cover. Press the velcro strips firmly together to create a secure and seamless connection, allowing the table cover to stay in place during use.
Alternatively, if you prefer to use elastic for securing the table cover, begin by measuring and cutting the elastic to the appropriate length, ensuring a snug but not overly tight fit. Attach one end of the elastic to the underside of the hemmed edge of the table cover, securing it in place using fabric glue or by sewing it onto the fabric. Once the elastic is securely attached, stretch it beneath the table and affix the other end to the opposite side of the cover, ensuring that it is taut and secure. The elastic provides a flexible and adaptable method for securing the table cover, accommodating different table shapes and sizes while maintaining a sleek and tailored appearance.
Whichever method you choose, whether velcro or elastic, it's essential to ensure a secure and uniform application to guarantee that the table cover remains in place during use. By adding velcro or elastic to your custom oilcloth table cover, you elevate its practical functionality while achieving a seamless and tailored fit that enhances the overall aesthetic appeal of your table. With this pivotal step completed, you're well on your way to enjoying a stunning and practical table cover that reflects your personal style and enhances your living space.
Step 4: Customize with Trim or Embellishments
Once the foundational elements of your DIY oilcloth table cover are in place, it's time to unleash your creativity and personalize the cover with unique trim or embellishments. This phase presents an exciting opportunity to infuse your table cover with a touch of individuality and style, elevating its visual appeal and making it a true reflection of your personal taste.
If you're drawn to a minimalist aesthetic, a sleek and understated approach to customization may be ideal. Consider adding a simple yet elegant trim along the edges of the table cover, such as a narrow ribbon in a complementary color or a subtle piping detail. These refined touches can impart a polished and tailored look to the cover, enhancing its overall sophistication without overwhelming the design.
On the other hand, if you're inclined towards a more vibrant and eclectic style, the possibilities for embellishments are endless. Explore the world of decorative trims, tassels, or fringe to add a playful and dynamic dimension to your table cover. Whether you opt for a bold contrast or a harmonious blend of colors and textures, these embellishments can inject a sense of personality and charm into the cover, transforming it into a captivating focal point for your dining or outdoor space.
For those with a penchant for DIY crafting, consider incorporating handcrafted elements into the customization process. Hand-sewn embroidery, appliqué designs, or fabric paint embellishments offer a unique opportunity to infuse the table cover with a one-of-a-kind artistic flair. Whether you choose to adorn the cover with intricate patterns, nature-inspired motifs, or personalized monograms, these handcrafted details add a touch of artistry and individuality to the cover, making it a truly bespoke creation.
As you explore the realm of customization, it's essential to strike a balance between creativity and cohesion. Consider the existing decor and ambiance of your space, aiming to harmonize the customizations with the overall aesthetic. Whether you opt for subtle sophistication or vibrant exuberance, the goal is to create a cohesive and harmonious look that seamlessly integrates with your surroundings, enhancing the visual allure of your table while reflecting your unique style sensibilities.
By customizing your oilcloth table cover with trim or embellishments, you infuse the cover with a personalized touch that sets it apart as a distinctive and eye-catching element in your living space. Whether you choose to embrace a refined and understated elegance or unleash a burst of creative exuberance, this phase allows you to put the finishing flourish on your DIY project, resulting in a stunning and practical table cover that embodies your individuality and enhances your home environment.
Conclusion
In conclusion, embarking on the journey of creating a DIY oilcloth table cover is a rewarding endeavor that combines practicality with creativity, resulting in a stunning and functional addition to your home. By following the step-by-step process outlined in this guide, you have gained valuable insights into transforming a simple piece of oilcloth fabric into a custom table cover that not only protects your table but also enhances its aesthetic appeal.
Through meticulous measuring and cutting, you ensured that the oilcloth fabric was tailored to fit your table perfectly, allowing for an elegant overhang that exudes a polished and refined look. The process of hemming the edges, whether through traditional sewing or a no-sew approach, added a professional finish to the cover while reinforcing its durability, ensuring that it stands the test of time.
The addition of velcro or elastic fastenings further elevated the practical functionality of the table cover, providing a secure and tailored fit that stays in place during everyday use. Whether opting for velcro strips or elastic, this step ensures that your custom cover adapts to your table's shape and size while maintaining a sleek and seamless appearance.
Finally, the opportunity to customize the table cover with trim or embellishments allowed you to infuse your personal style into the project, creating a unique and eye-catching piece that harmonizes with your living space. Whether embracing a minimalist elegance or unleashing a burst of creative exuberance, the customization phase empowered you to make the table cover a true reflection of your individual taste and aesthetic preferences.
As you admire the finished product, you can take pride in the fact that you've not only crafted a practical solution for protecting your table but also added a touch of artistry and personalization to your home environment. The DIY oilcloth table cover stands as a testament to your creativity and resourcefulness, serving as a focal point that enhances the ambiance of your dining area or outdoor space.
In the end, this DIY project goes beyond the creation of a table cover; it represents a journey of self-expression, creativity, and the joy of transforming simple materials into something truly remarkable. With your newfound knowledge and skills, you're well-equipped to continue exploring the world of DIY home improvement projects, infusing your living space with personalized touches that reflect your unique style and vision.