
Home>Create & Decorate>DIY & Crafts>Creative Home Makeover: DIY Fabric Garland For A Festive Touch
DIY & Crafts
Creative Home Makeover: DIY Fabric Garland For A Festive Touch
Published: February 15, 2024

Content Creator specializing in woodworking and interior transformations. Caegan's guides motivate readers to undertake their own projects, while his custom furniture adds a personal touch.
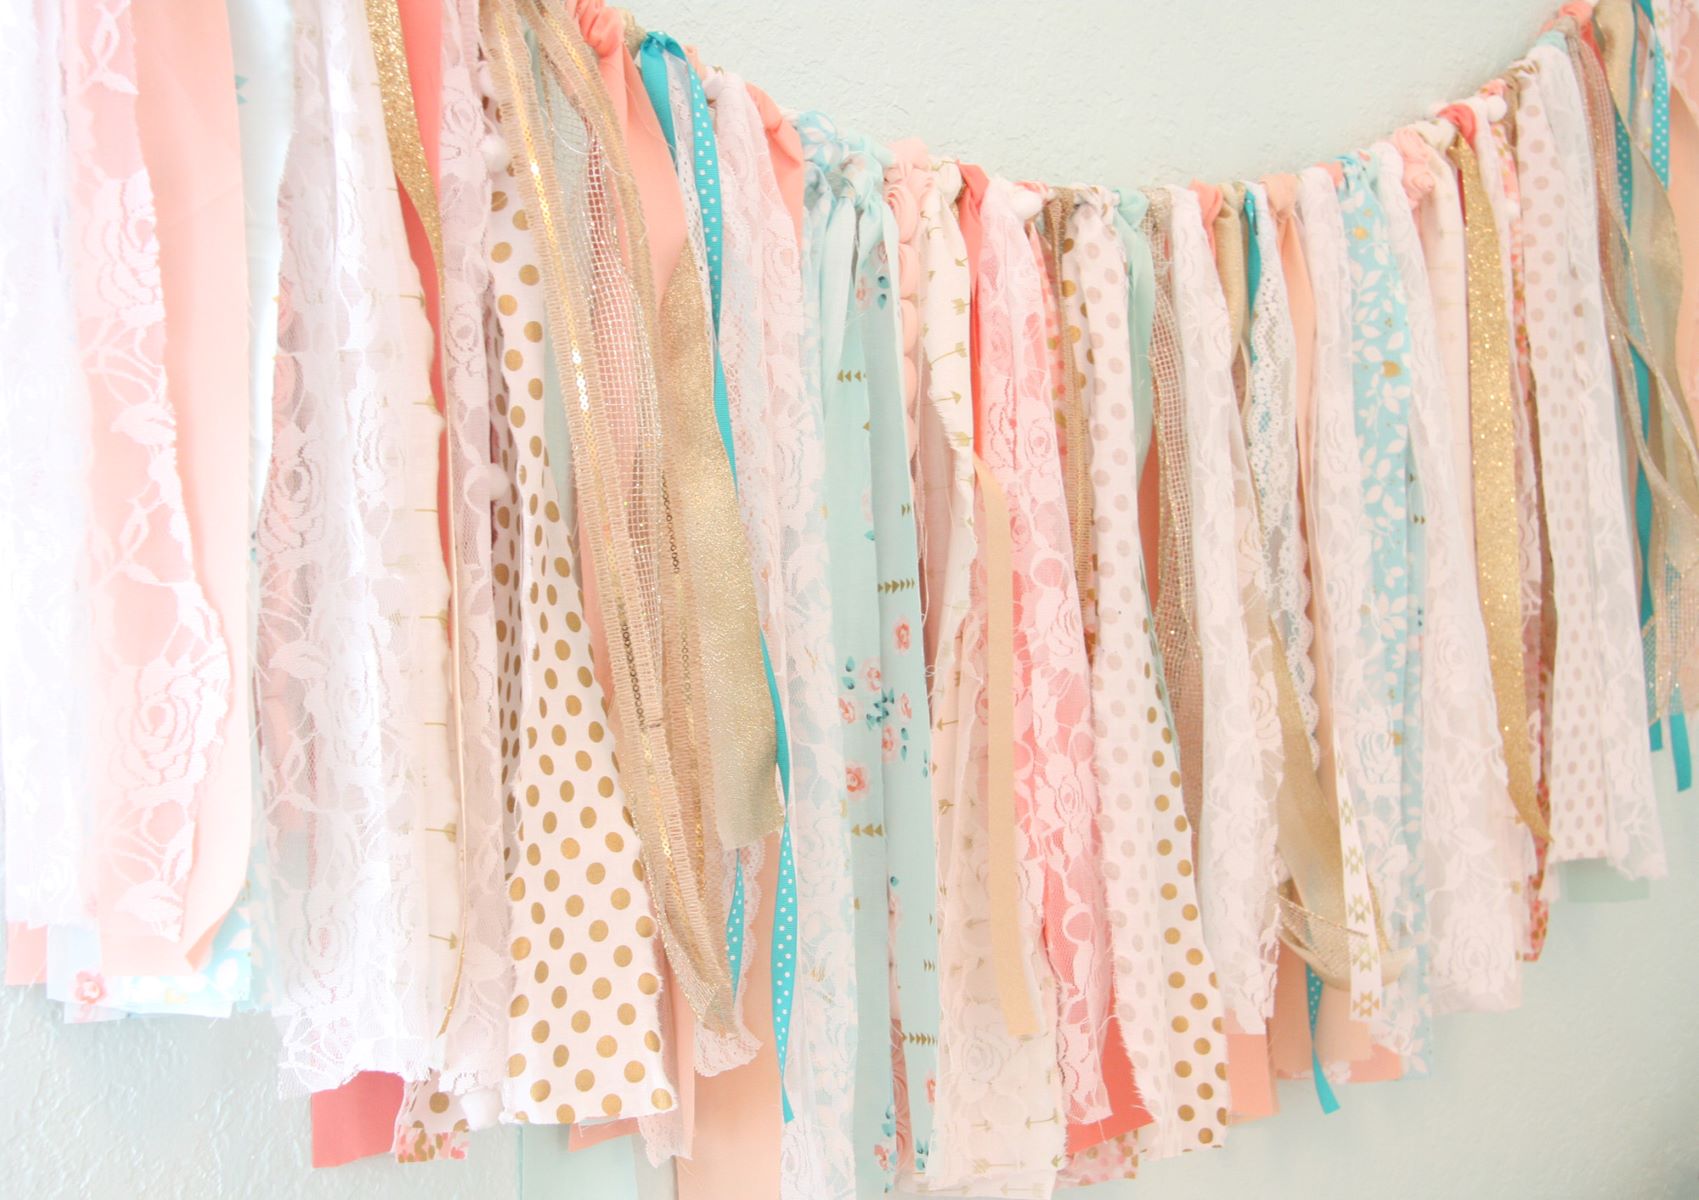
Transform your home with a festive touch using this DIY fabric garland. Get creative with our DIY & Crafts project for a stunning home makeover.
(Many of the links in this article redirect to a specific reviewed product. Your purchase of these products through affiliate links helps to generate commission for Twigandthistle.com, at no extra cost. Learn more)
Introduction
Are you ready to infuse your living space with a touch of festive charm and creativity? Look no further than a delightful DIY fabric garland project! This simple yet impactful craft is a fantastic way to add a pop of color and texture to your home, whether you're sprucing up for a special occasion or simply craving a fresh, personalized aesthetic.
Crafting a fabric garland is a wonderful opportunity to unleash your creativity and bring a unique, handmade touch to your decor. Whether you're a seasoned crafter or a DIY novice, this project offers a perfect blend of simplicity and versatility. With just a few basic materials and a dash of imagination, you can transform your living space into a cozy, inviting haven that reflects your personal style.
The beauty of a fabric garland lies in its adaptability. You have the freedom to select fabrics that resonate with your aesthetic preferences, whether you prefer vibrant, eye-catching patterns or soothing, pastel hues. This project is an open canvas for self-expression, allowing you to tailor the garland to suit any theme or color scheme you desire.
Not only does a fabric garland serve as a charming decorative accent, but it also holds sentimental value. As you embark on this creative journey, you're not just crafting a garland; you're weaving memories and emotions into each fabric strip. Whether you're repurposing beloved textiles or hand-selecting new fabrics, every knot tied and every fabric strip hung becomes a testament to your creativity and individuality.
Furthermore, engaging in a DIY fabric garland project is a delightful way to embrace sustainability and eco-consciousness. By upcycling fabric scraps or utilizing eco-friendly materials, you're contributing to a more sustainable approach to decor, all while indulging in a fulfilling crafting experience.
In the upcoming sections, we'll delve into the materials needed and the step-by-step process to create your very own fabric garland. Get ready to embark on a crafting adventure that will breathe new life into your home and leave you with a sense of accomplishment and joy!
Materials Needed
To embark on your DIY fabric garland project, you'll need a handful of basic yet essential materials. These items are readily available and can be easily sourced from craft stores, fabric shops, or even repurposed from items you already have at home. Here's a rundown of the materials required to bring your fabric garland vision to life:
-
Assorted Fabrics: Select an array of fabrics that align with your aesthetic vision for the garland. Consider incorporating a mix of patterns, textures, and colors to add depth and visual interest. Whether you opt for vibrant, eye-catching prints or subtle, understated tones, the choice of fabrics is pivotal in shaping the garland's overall look and feel.
-
Scissors: A reliable pair of fabric scissors is indispensable for cutting the fabric into strips of the desired length and width. Ensure that the scissors are sharp and suitable for cleanly cutting through various types of fabric.
-
Twine or Ribbon: This will serve as the base onto which the fabric strips will be tied. Opt for a twine or ribbon that complements the chosen fabrics and provides a sturdy foundation for the garland.
-
Measuring Tape or Ruler: Precision is key when cutting the fabric strips to ensure uniformity in length. A measuring tape or ruler will aid in achieving consistency and a polished finish.
-
Optional Embellishments: If you wish to add extra flair to your fabric garland, consider incorporating embellishments such as beads, pom-poms, or tassels. These decorative elements can infuse a playful or elegant touch, depending on your desired aesthetic.
-
Workspace: Set up a dedicated crafting area with ample space to spread out the fabrics and work comfortably. A clean, well-lit environment will facilitate a smooth and enjoyable crafting experience.
By gathering these materials, you're poised to embark on a delightful crafting journey that will culminate in a stunning fabric garland. With these essentials in hand, you're ready to proceed to the next steps and bring your creative vision to fruition.
Step 1: Choose Your Fabric
The first and perhaps most exhilarating step in creating your own fabric garland is selecting the fabrics that will form the heart and soul of this delightful craft. This is your opportunity to unleash your creativity and infuse the garland with your unique style and personality. Whether you're aiming for a whimsical, bohemian vibe or a sophisticated, understated elegance, the choice of fabrics will set the tone for the entire project.
When it comes to fabric selection, the possibilities are virtually endless. Consider the ambiance you wish to evoke with your garland. Are you envisioning a vibrant, eclectic display bursting with color and energy? If so, opt for fabrics adorned with bold, eye-catching patterns and vivid hues. On the other hand, if you're leaning towards a serene, minimalist aesthetic, explore a palette of soft, pastel tones and subtle textures.
Delve into your fabric stash or visit a fabric store to explore an array of options. Look for fabrics that resonate with your personal taste and complement the existing decor of the space where the garland will be displayed. Mixing and matching different fabrics can add depth and visual interest to the garland, creating a captivating tapestry of colors and textures.
Consider incorporating a variety of fabric types, such as cotton, linen, or even lightweight knits, to introduce a diverse tactile experience. The interplay of different fabric textures can elevate the garland, making it visually dynamic and engaging to the touch.
Furthermore, repurposing fabric remnants or upcycling old garments can infuse the garland with sentimental value and sustainability. Embrace the opportunity to breathe new life into cherished textiles or give a second chance to forgotten fabrics, adding a layer of personal significance to the crafting process.
As you curate your fabric selection, envision how the chosen fabrics will harmonize with the overall theme and ambiance of the space. Let your intuition guide you as you assemble a collection of fabrics that speaks to your creative vision and resonates with your heart. With the fabrics in hand, you're ready to embark on the next step of this enchanting DIY fabric garland journey.
Step 2: Cut the Fabric Strips
With a curated selection of fabrics at your disposal, it's time to embark on the transformative process of cutting the fabric strips that will form the core elements of your fabric garland. This step is where your vision begins to take tangible shape, as you carefully craft the individual components that will come together to create a stunning, cohesive whole.
Begin by laying out your chosen fabrics on a clean, spacious work surface, ensuring they are smooth and free of wrinkles. This provides an optimal canvas for the precise cutting of fabric strips. Armed with a reliable pair of fabric scissors, carefully assess the dimensions and proportions you envision for the garland, and proceed to cut the fabrics into strips of uniform length and width.
Precision is key in this phase of the process, as consistency in the size of the fabric strips will contribute to a polished and professional finish. Utilize a measuring tape or ruler to guide the cutting process, ensuring that each strip adheres to your predetermined measurements. Whether you opt for slender, delicate strips or wider, more substantial ones, maintaining uniformity across the fabric strips will result in a visually cohesive and aesthetically pleasing garland.
As you deftly maneuver the scissors through the fabrics, take a moment to appreciate the tactile qualities and vibrant hues of the materials. Each cut strip represents a thread of creativity and intention, adding depth and character to the garland. Embrace the rhythmic motion of cutting, allowing yourself to become immersed in the meditative process of transforming fabrics into artful components.
Consider experimenting with varying lengths and widths of fabric strips to introduce visual interest and dimension to the garland. Mixing and matching different sizes can create a dynamic interplay of textures and shapes, elevating the overall aesthetic impact of the garland.
Throughout this phase, let your intuition guide you, allowing the fabrics to speak to you as you curate the strips. Embrace the organic, fluid nature of the creative process, and trust in your instincts as you craft each fabric strip with care and intention.
With the fabric strips meticulously cut and ready for the next phase of the project, you've laid the foundation for a visually captivating and personalized fabric garland. The journey of transforming fabrics into a stunning decorative accent continues, brimming with creative energy and the promise of a beautifully crafted end result.
Step 3: Tie the Fabric Strips onto the Garland
With a colorful array of fabric strips at your disposal, the time has come to embark on the enthralling process of tying them onto the garland base. This step represents the pivotal moment when individual fabric strips coalesce into a cohesive, visually captivating garland, infusing your living space with an enchanting touch of handmade charm.
Begin by preparing the chosen twine or ribbon, which will serve as the foundational element onto which the fabric strips will be tied. Lay the twine horizontally along your workspace, ensuring it is taut and positioned securely. This forms the canvas upon which your creative vision will unfold, providing a sturdy framework for the garland.
Now, take a moment to survey the collection of fabric strips, each brimming with its unique pattern, texture, and hue. This is where your creativity takes center stage as you orchestrate the arrangement of the fabric strips. Embrace the freedom to experiment with different color combinations and patterns, allowing your intuition to guide the placement of each fabric strip along the twine.
With a sense of purpose and artistry, begin tying the fabric strips onto the twine, employing a simple yet effective knotting technique. As you secure each strip in place, relish the tactile sensation of the fabrics and the rhythmic motion of tying, infusing the process with a meditative, almost therapeutic quality.
Consider the spacing and arrangement of the fabric strips, aiming for a balanced distribution that ensures visual harmony and coherence. You may opt for a uniform arrangement, where fabric strips of similar colors or patterns are interspersed evenly, or embrace a more eclectic approach, allowing for a delightful interplay of textures and hues.
As the garland gradually takes shape, step back periodically to admire the evolving composition, making any adjustments as needed to achieve the desired aesthetic impact. This is a moment of artistic expression, where your instincts and creative sensibilities guide the placement of each fabric strip, resulting in a garland that is a true reflection of your unique style and vision.
Embrace the organic, intuitive nature of this process, allowing the garland to unfold organically, much like a work of art in progress. Each tied fabric strip contributes to the narrative of the garland, weaving together a tapestry of colors and textures that exudes warmth and character.
With each knot tied, you are not just assembling a garland; you are infusing it with your creativity, passion, and individuality. This step is a celebration of the art of crafting, where the act of tying fabric strips becomes a testament to your artistic spirit and the joy of creating something beautiful with your own hands.
As the final fabric strip is secured onto the twine, take a moment to revel in the transformation that has taken place. What was once a collection of fabric strips and twine has blossomed into a stunning fabric garland, brimming with personality and charm. The culmination of this step marks the realization of your creative vision, as the garland stands as a testament to your craftsmanship and artistic flair.
With the fabric strips elegantly tied in place, the garland is now ready to grace your living space, infusing it with a touch of handmade elegance and festive allure. The journey of crafting a fabric garland has been a testament to your creativity and dedication, resulting in a delightful decorative accent that radiates warmth and individuality.
Step 4: Hang and Enjoy!
With the completion of your enchanting fabric garland, the time has come to revel in the fruits of your creative endeavor. This final step marks the culmination of a captivating journey, as you prepare to showcase your handcrafted masterpiece and bask in the delightful ambiance it imparts to your living space.
As you approach the moment of hanging the fabric garland, consider the various display options available to you. Whether adorning a mantelpiece, embellishing a bare wall, or accentuating a festive gathering, the garland holds the potential to transform any space into a captivating tableau of color and texture. Embrace the opportunity to experiment with different placement possibilities, allowing the garland to infuse each setting with its unique charm and personality.
Armed with your fabric garland and a spirit of creativity, select the ideal location for its display. As you prepare to hang the garland, take a moment to appreciate the transformative power it holds. The act of hanging the garland becomes a celebration of your craftsmanship and artistic vision, as you witness the culmination of your efforts taking center stage in your home.
With a sense of anticipation and pride, delicately position the garland in its chosen setting, ensuring that it drapes elegantly and commands attention. Whether you opt for a symmetrical arrangement or a more whimsical display, allow the garland to unfurl gracefully, breathing new life into its surroundings.
As the garland finds its place, step back and behold the captivating transformation it has bestowed upon the space. Each fabric strip, meticulously chosen and tied with care, now weaves a narrative of creativity and individuality, infusing the environment with a touch of handmade elegance and festive allure.
With the garland proudly on display, take a moment to immerse yourself in the enchanting ambiance it creates. Whether it serves as a backdrop for cherished gatherings, a daily source of visual delight, or a testament to your crafting prowess, the garland radiates a warmth and charm that is truly unparalleled.
As you revel in the presence of your fabric garland, allow yourself to be captivated by the interplay of colors and textures, the artful arrangement of fabric strips, and the palpable sense of joy and accomplishment it exudes. Embrace the opportunity to share this delightful creation with others, inviting them to partake in the enchanting atmosphere it fosters.
In the presence of your fabric garland, you are not just a creator; you are a curator of beauty and a purveyor of handmade charm. The act of enjoying the garland becomes a testament to the joy of crafting, the fulfillment of creative expression, and the enduring allure of handmade decor.
With the garland adorning your living space, you have not only crafted a decorative accent; you have woven a tapestry of creativity and individuality that enriches the very essence of your home. As you savor the presence of your fabric garland, may it serve as a constant reminder of the transformative power of creativity and the enduring beauty of handmade craftsmanship.